
How to Use Traffic Cones for Maximum Road Safety
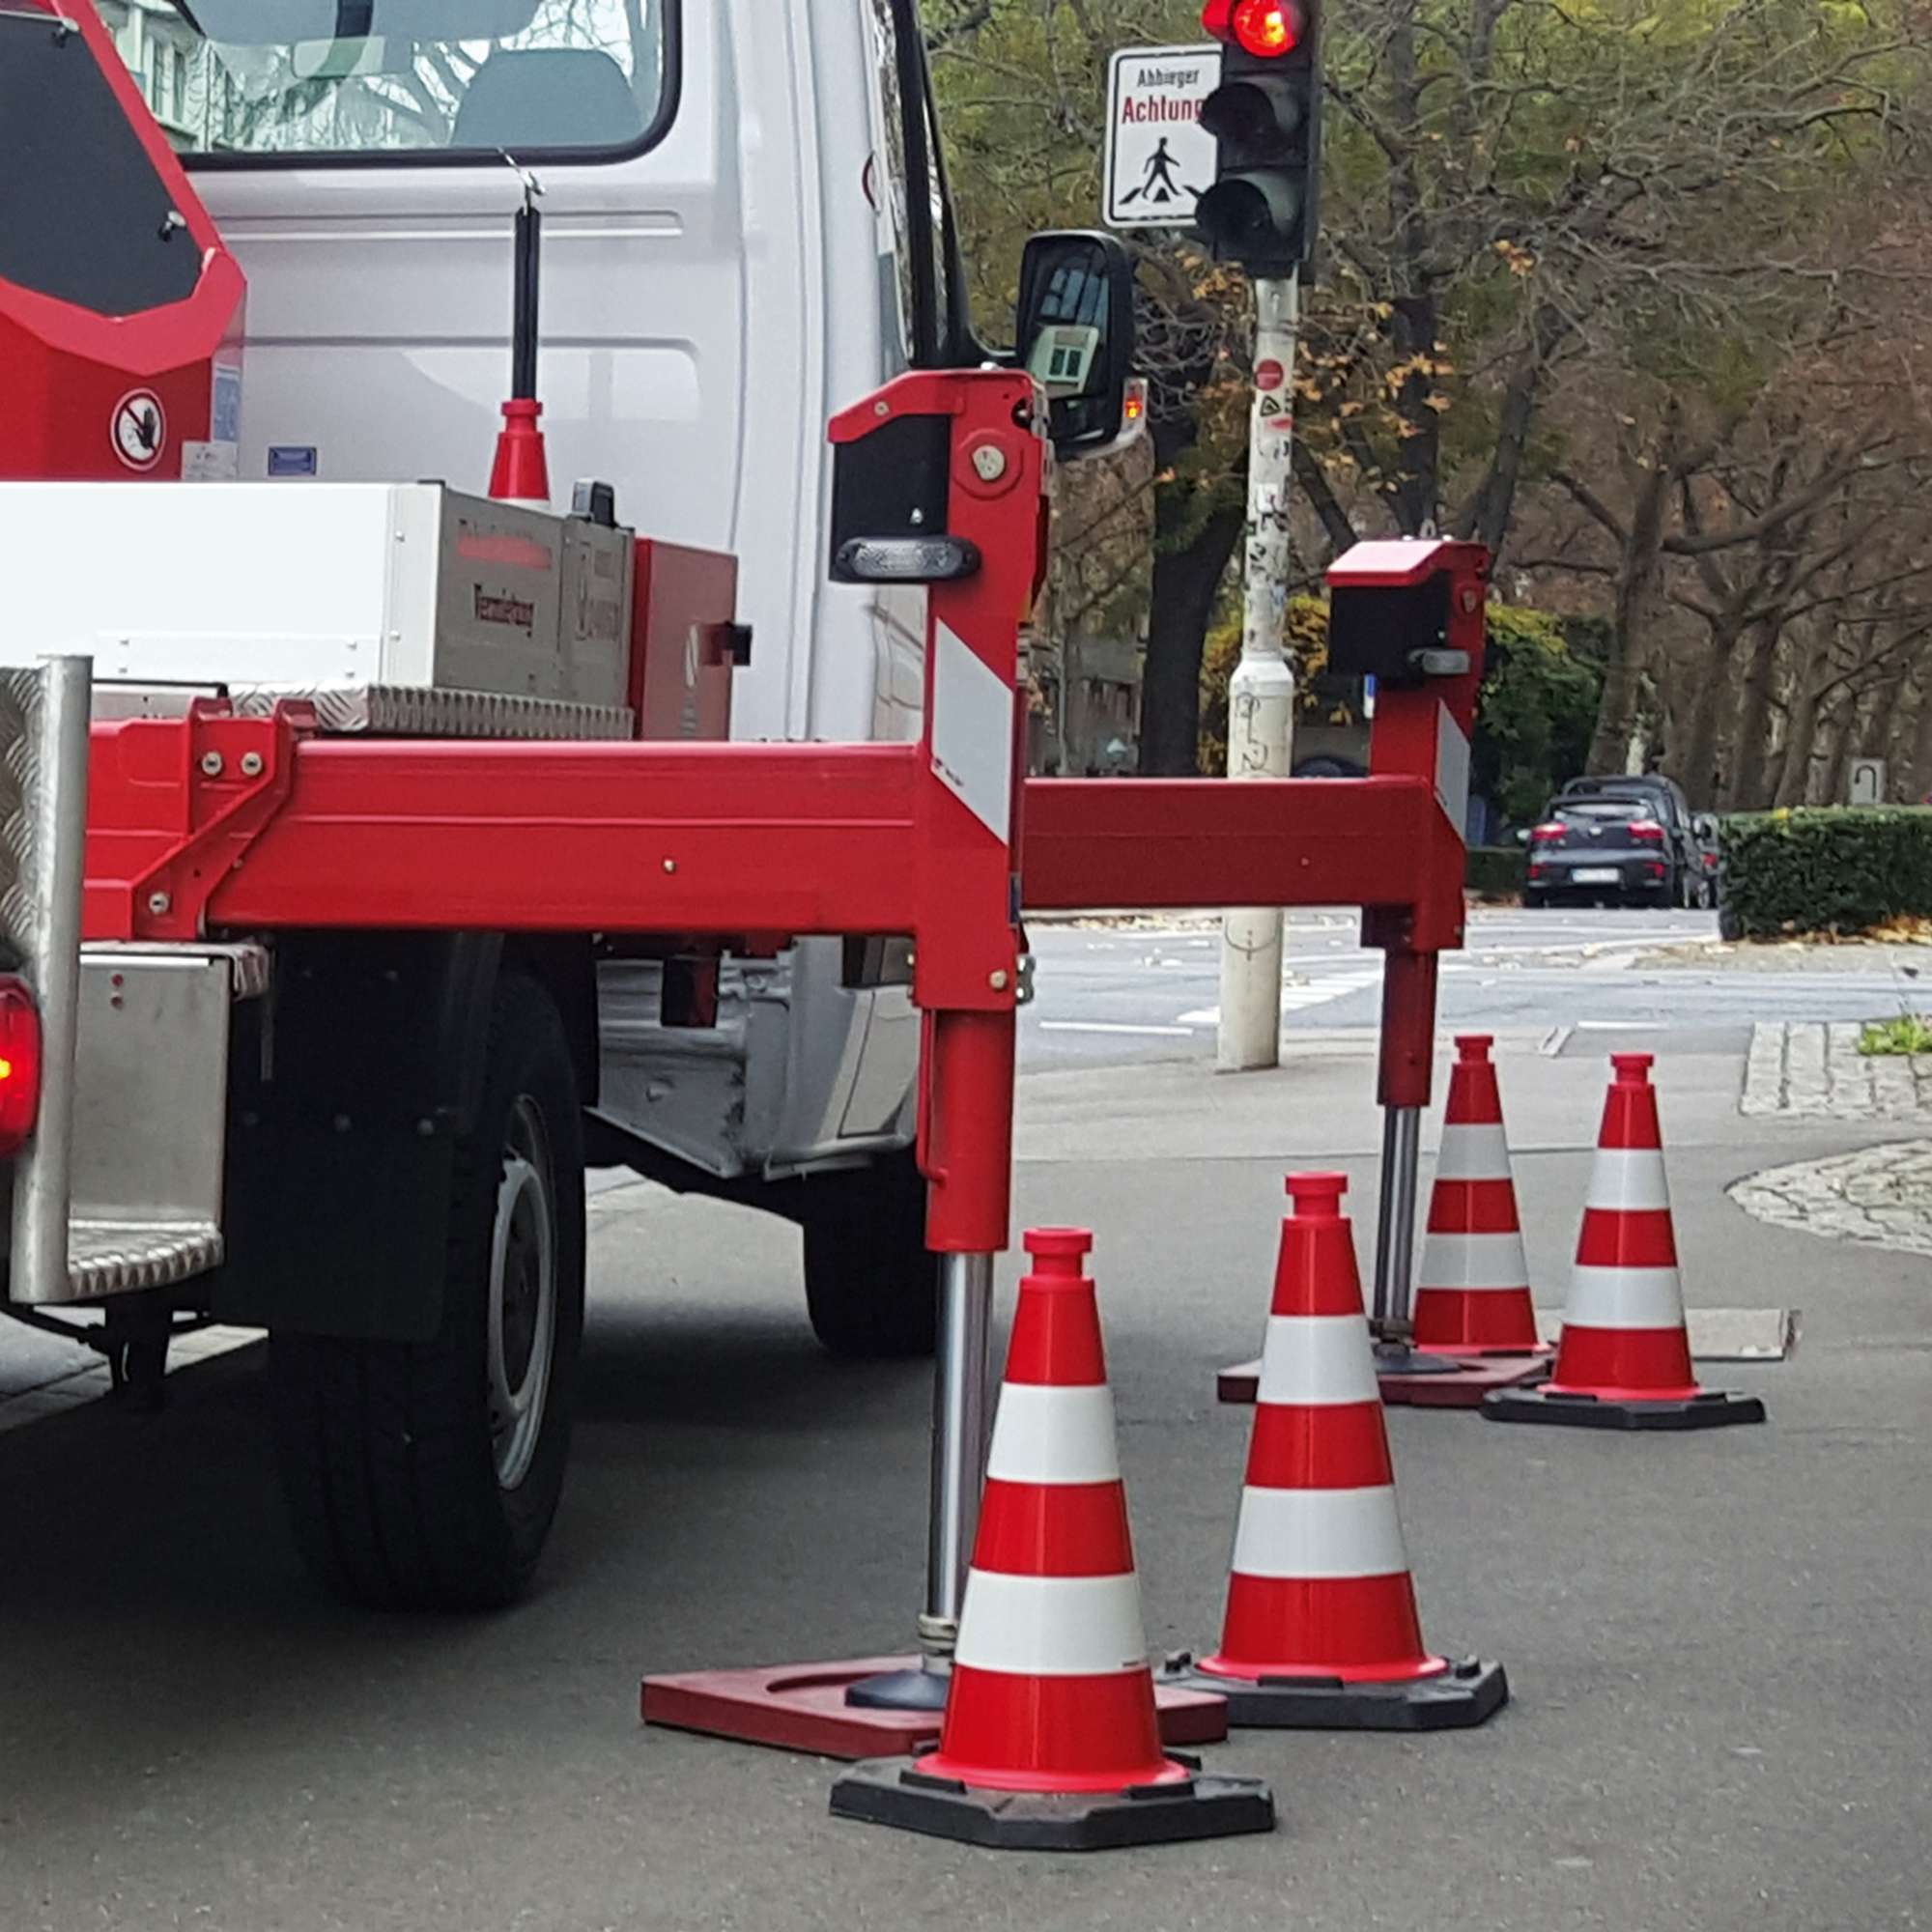
A traffic cone may look simple, but it is one of the most important heroes we have on the road. It is designed for a single, critical purpose: to protect lives. It acts as an immediate visual warning that guides road users safely past obstacles and creates a safer workplace for crews at road work sites. Used correctly, it turns a potentially chaotic and dangerous situation into a controlled and safe passage.
How a simple traffic cone makes Swedish roads safer
A traffic cone is so much more than just an orange plastic marker. It is a fundamental part of road safety and creates order exactly when it is needed most – at accidents, construction projects or events where the normal traffic environment is disrupted. Without clear guidance in these situations, the risk of misunderstandings, sudden braking and serious collisions rises dramatically.
The bright, fluorescent color and the reflective bands make traffic cones visible from a long way off, whether in bright daylight or on a dark, rainy night. That gives drivers the extra second they need to adjust their speed and plan their driving, which in turn reduces stress and prevents accidents.
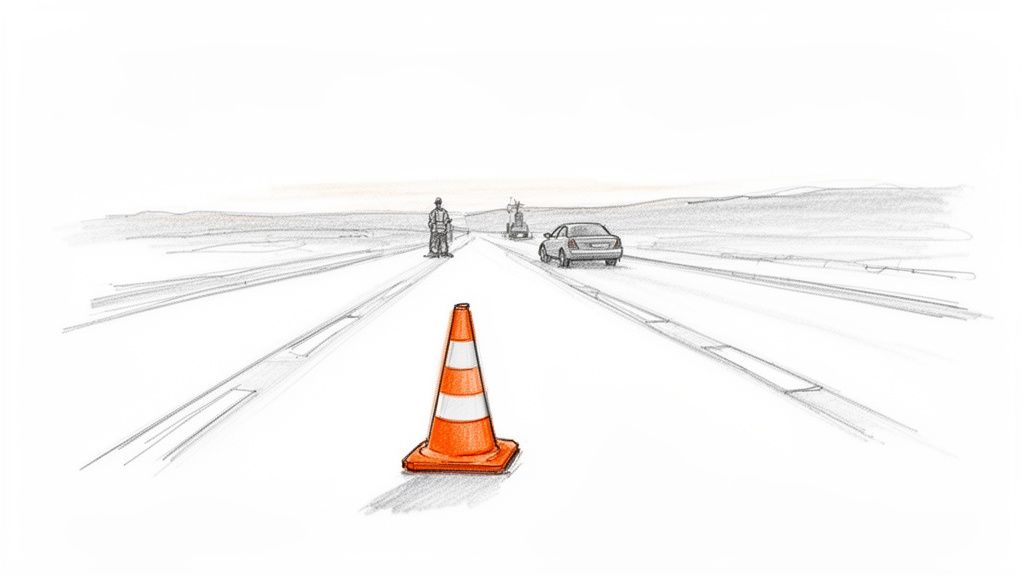
Why correct use matters as traffic gets heavier
Traffic on Swedish roads has grown explosively, and every barrier setup today is a bigger challenge than ever. Vehicle mileage has increased by a full 37 percent since 1990, and our roads now handle more than 110 billion vehicle kilometers every year. This heavy traffic makes road work sites a far more dangerous workplace.
In fact, studies show that correctly placed traffic cones can reduce the risk of accidents at road work sites by up to 40 percent. That says a lot about their importance. If you want to read more, see the development of traffic in Sweden on Trafa.se.
Using traffic cones correctly is about protecting everyone involved:
- Road workers: By creating a clear and respected buffer zone between the work area and moving traffic.
- Road users: By giving crystal-clear instructions that remove uncertainty and prevent dangerous maneuvers.
- The public: By making sure that pedestrians and cyclists can also get past an obstacle safely.
Investing in high-quality, CE-marked traffic cones is not a cost – it is a direct investment in safety. It ensures that your project meets legal requirements and, most importantly, protects human lives.
To guarantee maximum safety and durability, choosing the right type of products is essential. Our range of traffic control equipment is carefully selected to meet the toughest requirements.
 Black
Black Blue
Blue Green
Green White
White

 Gray
Gray
 Blue/Yellow
 Red/Yellow
 Gray
Gray
 Gray
Gray
 Gray
Gray
 Corten steel
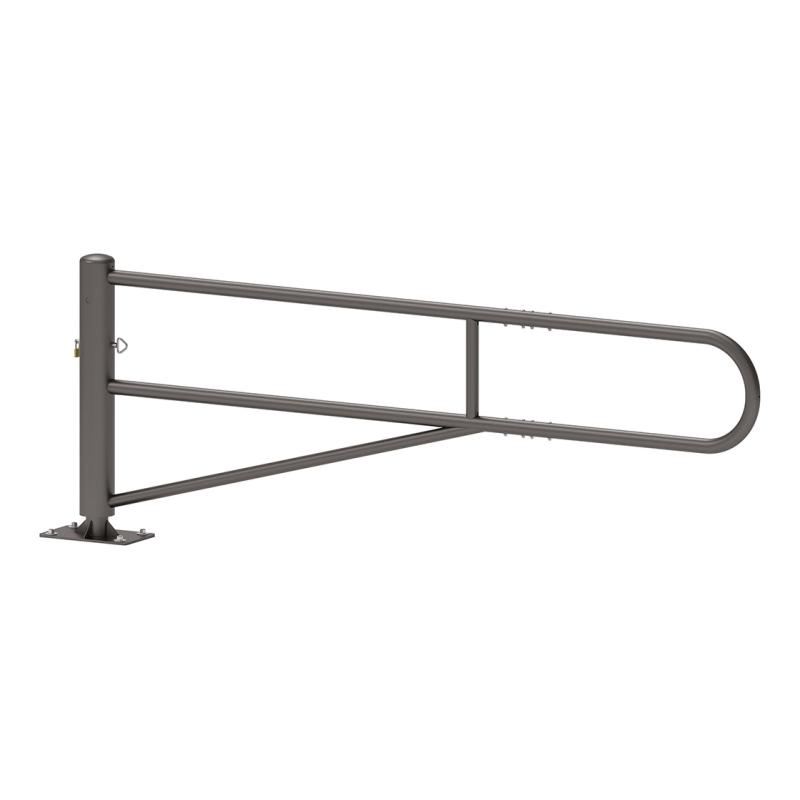 Gray
Gray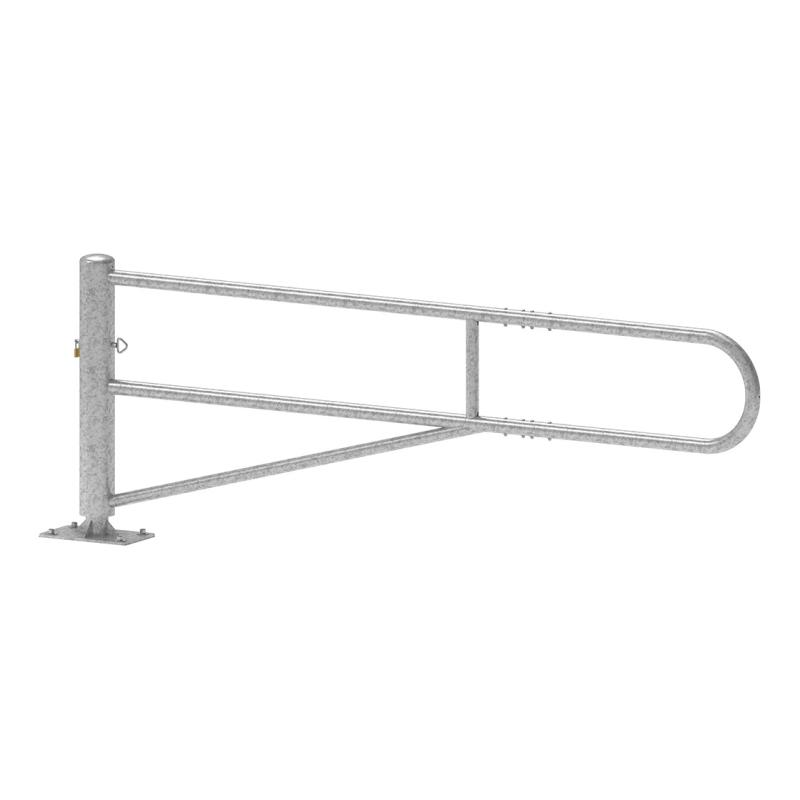 Silver gray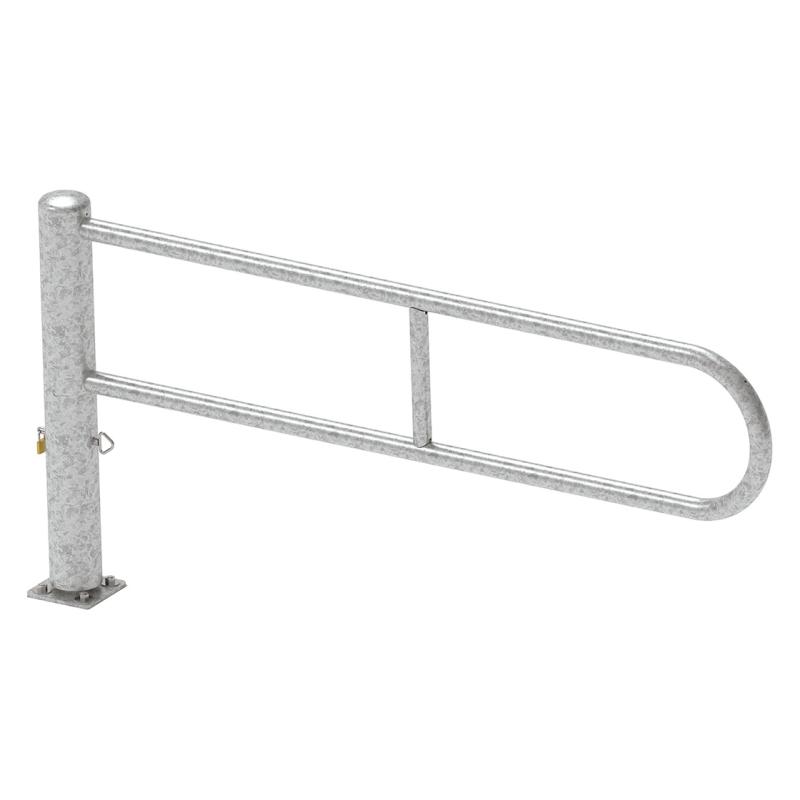
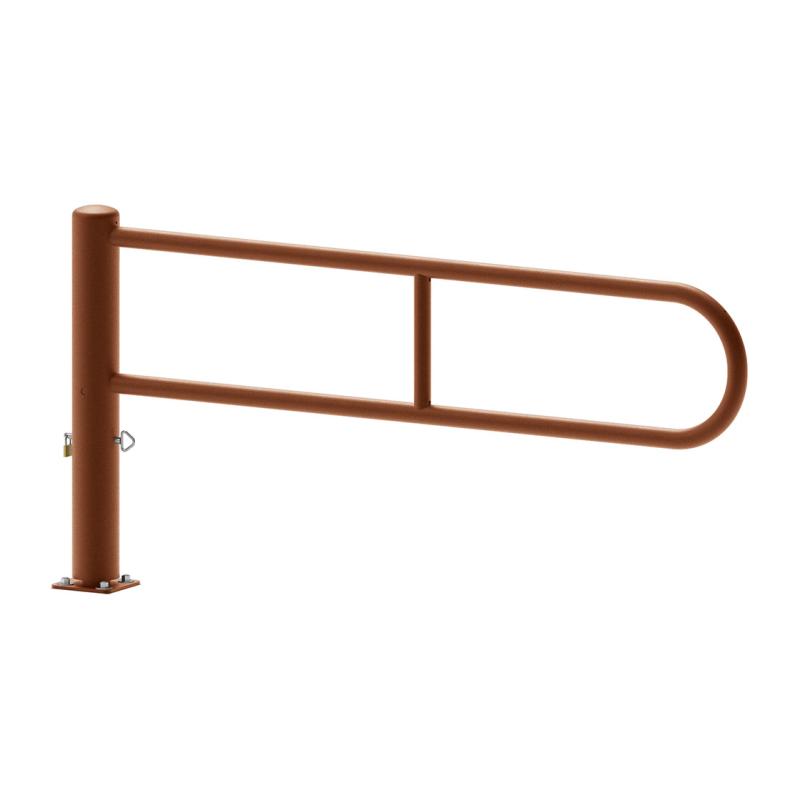 Corten steel
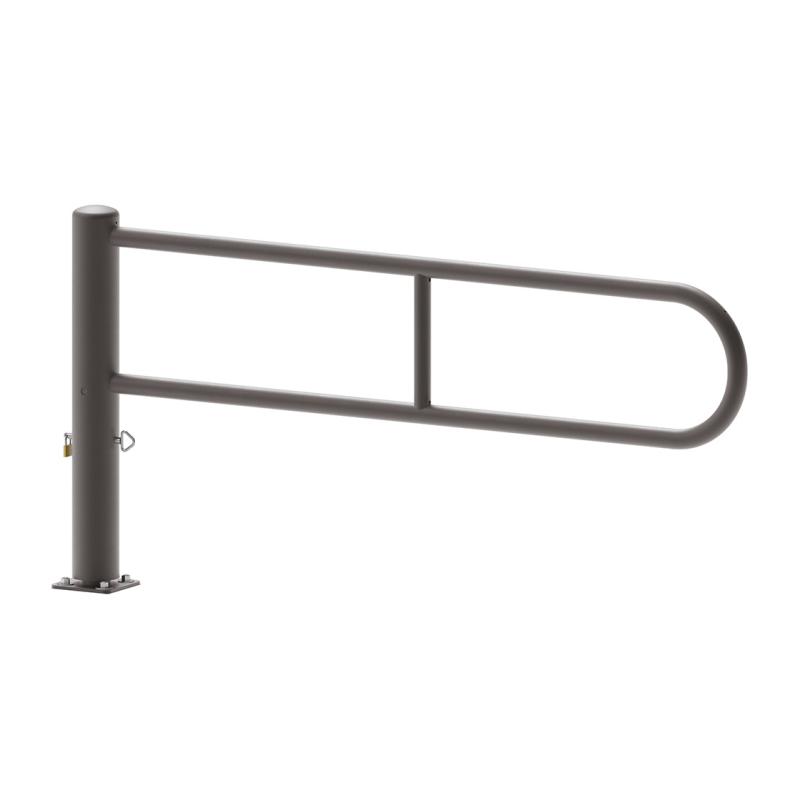 Gray
Gray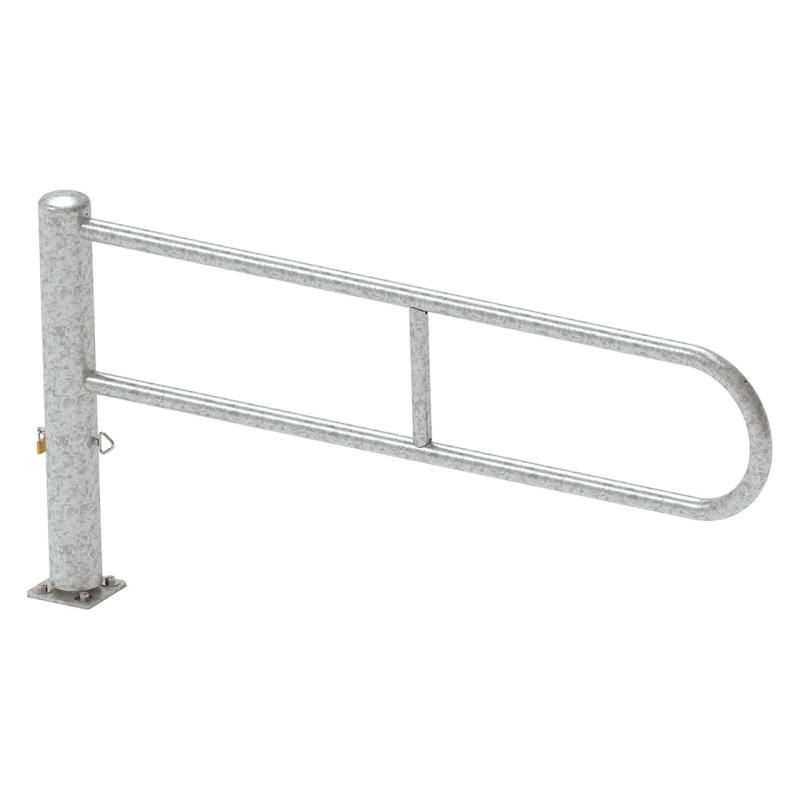 Silver gray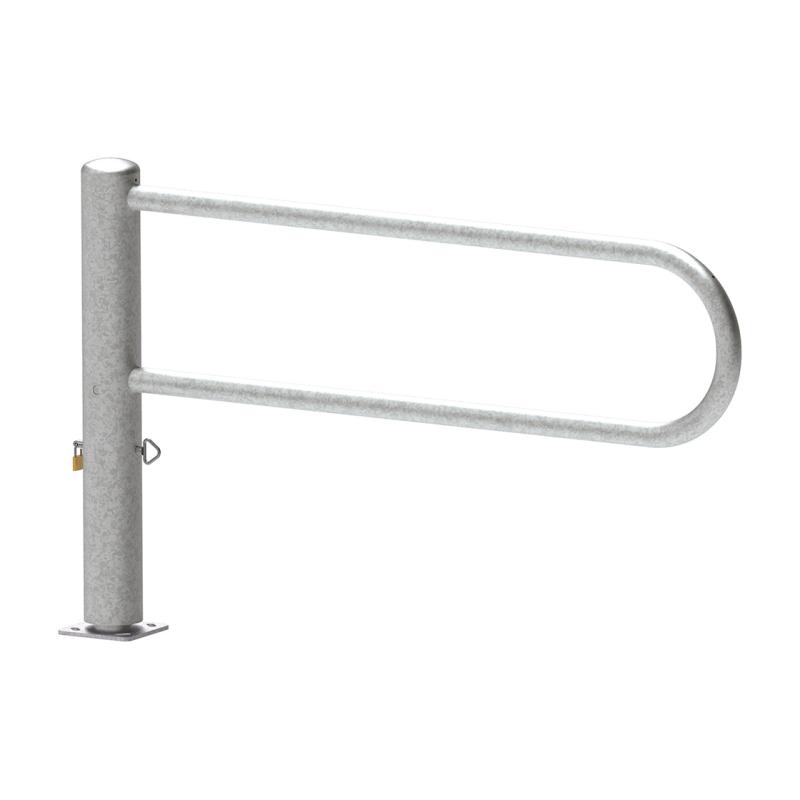
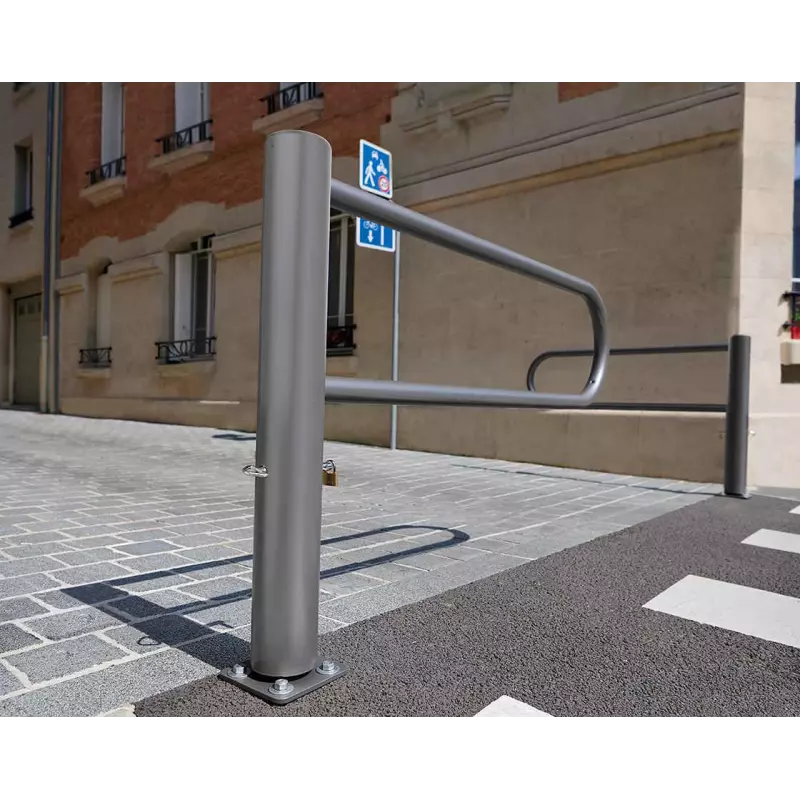
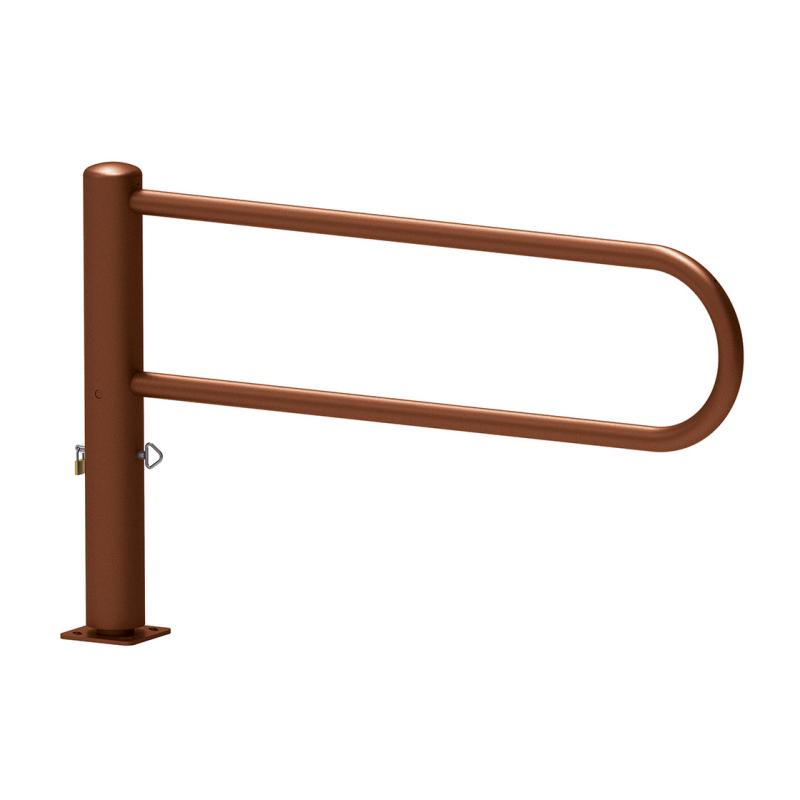 Corten steel
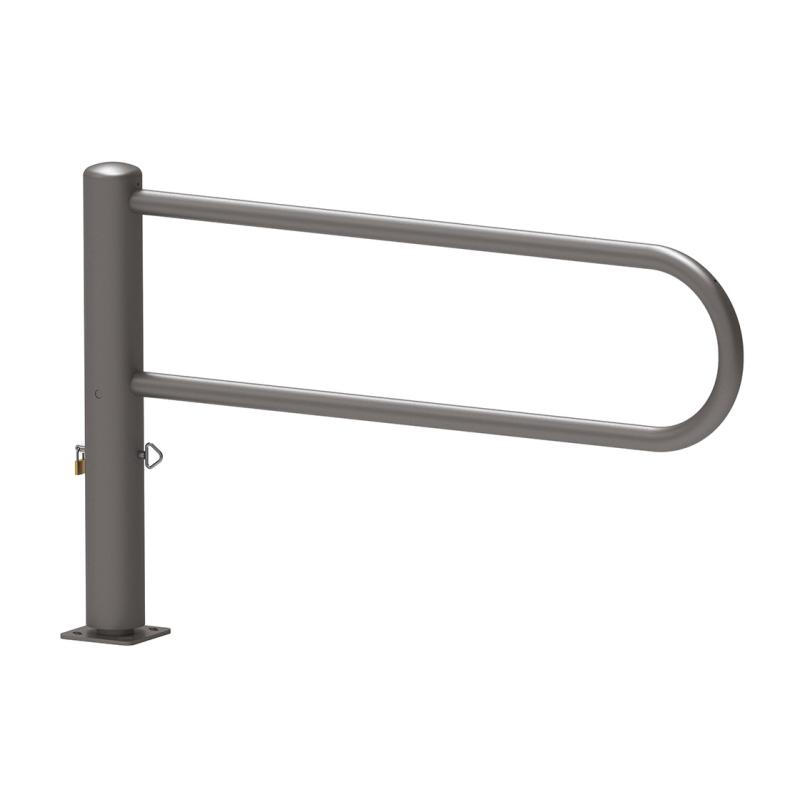 Gray
Gray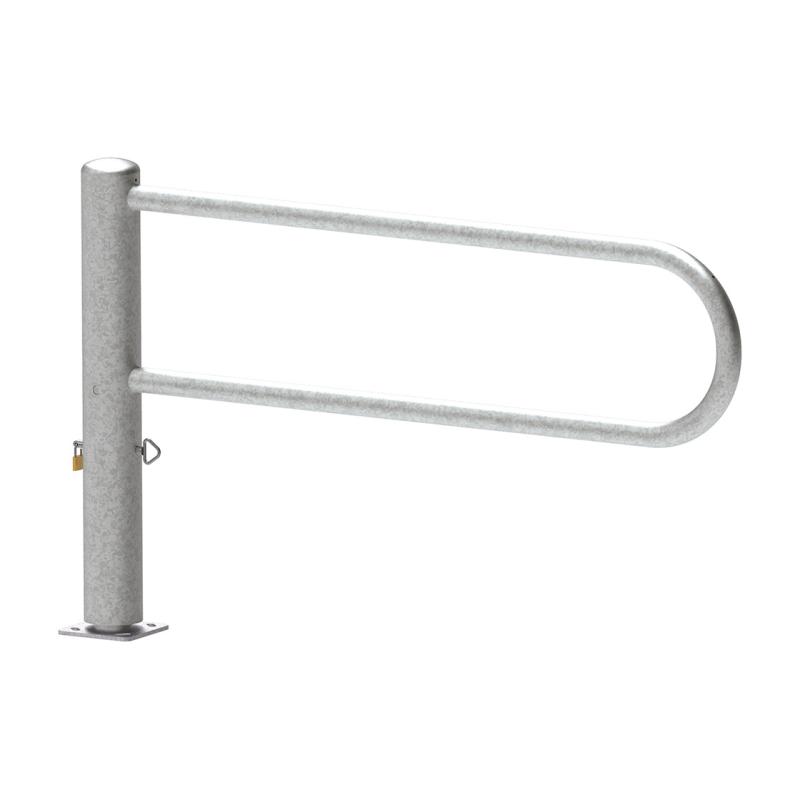 Silver gray
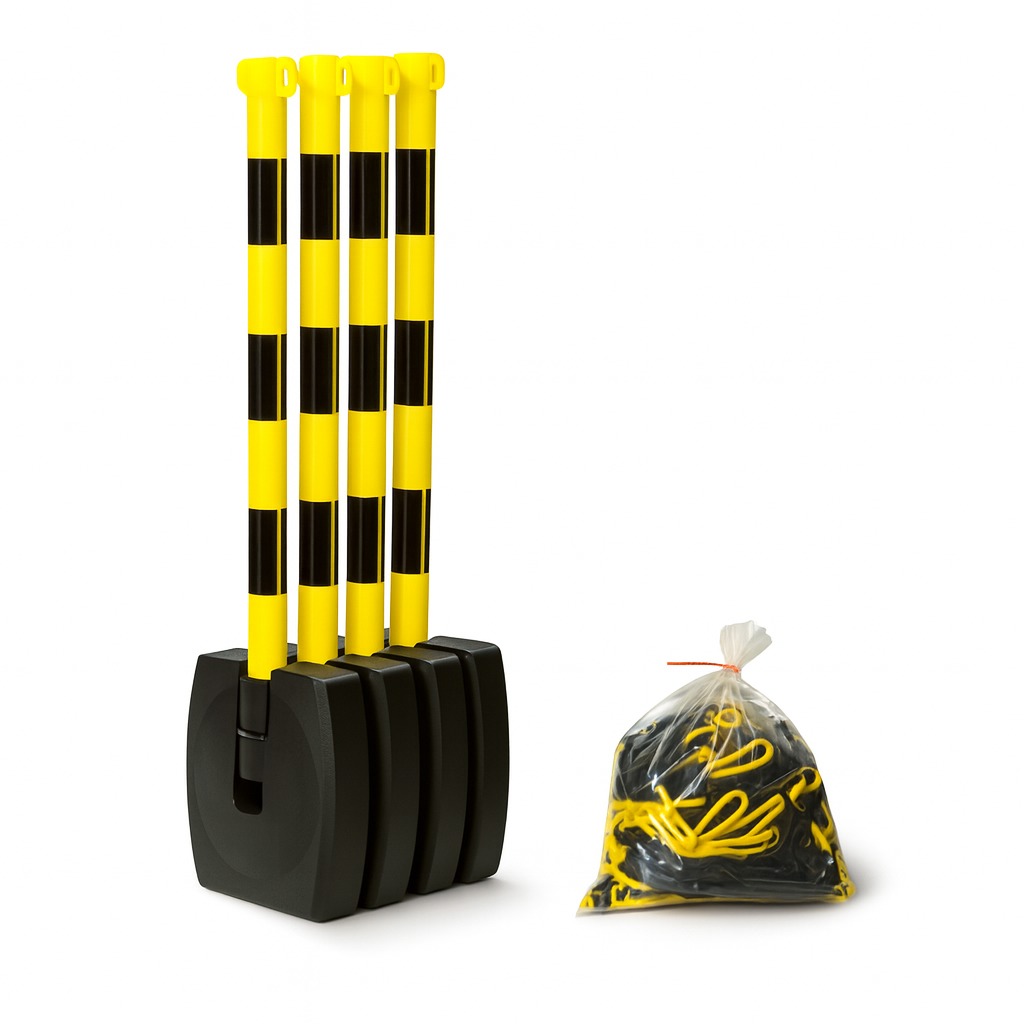
 Black/Yellow
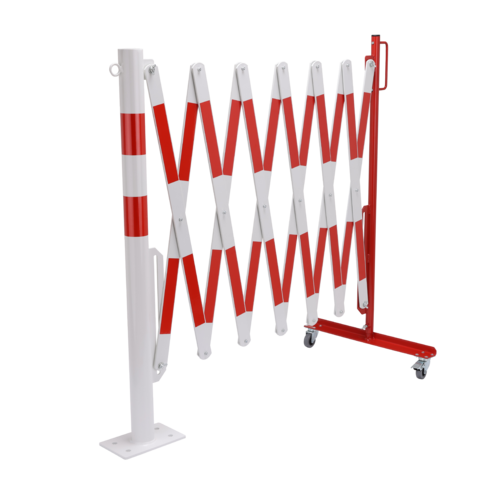
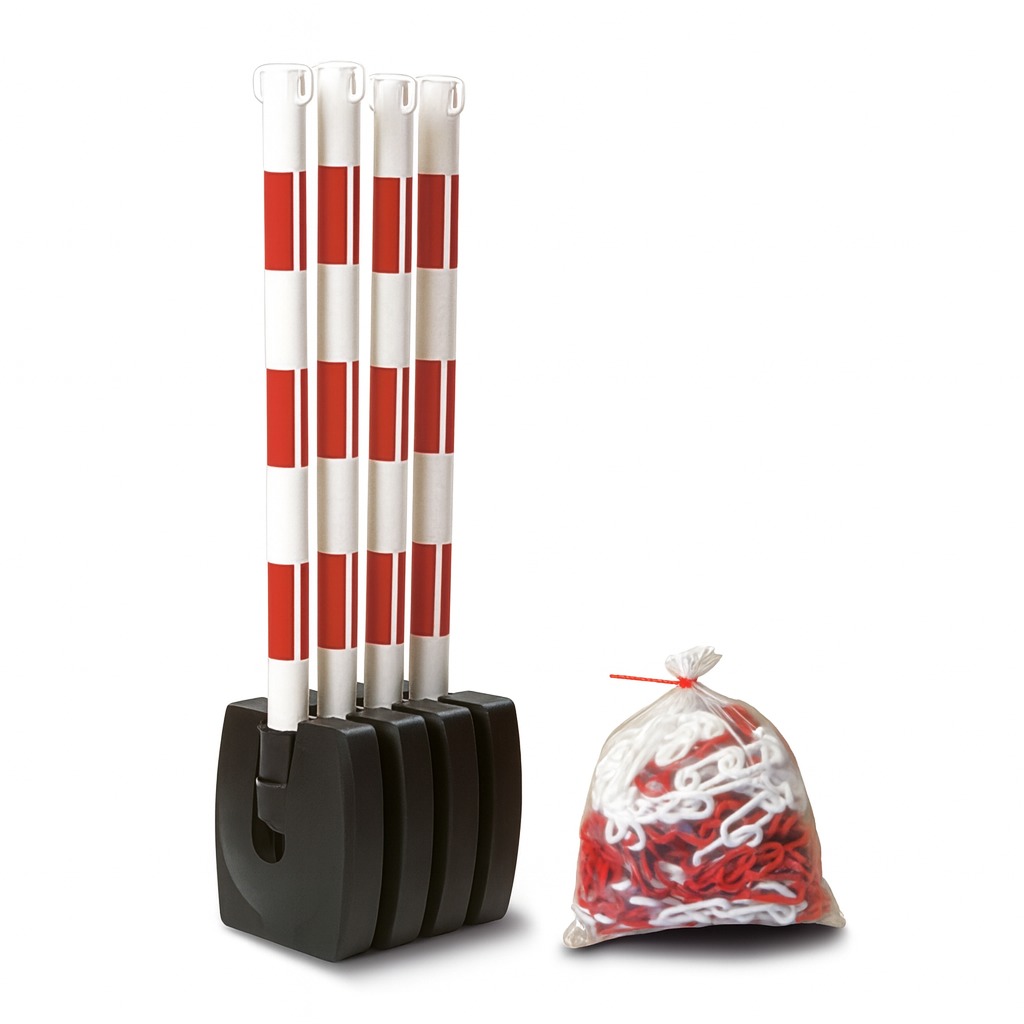 Red/White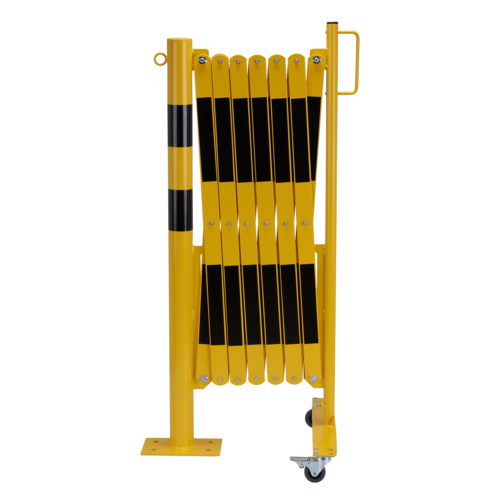
 Red
Red Yellow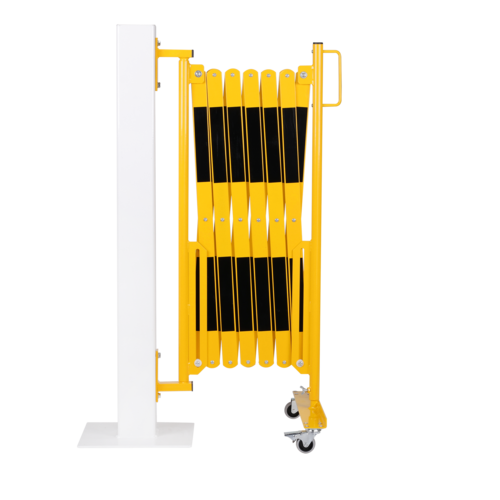
 RedYellow
 RedYellow
 RedYellow
 RedYellow
 RedYellow
Whether you represent a municipality, are a contractor or a property owner, choosing the right road equipment is key to a successful and safe project. Not sure which traffic cones best suit your needs? Contact us today, and our experts will help you create a safer environment.
Understanding the rules for traffic cones and CE marking
Just putting a traffic cone out on a street or road? It is not quite that simple. Behind every orange cone is a strict set of regulations, created with a single purpose: to guarantee the safety of both road users and those working on the road. Knowing the rules is absolutely essential to avoid both accidents and unpleasant legal consequences.
The single most important detail to look for is the CE marking. This is no ordinary sticker – it is your guarantee that the cone actually meets the European standard EN 13422. The standard is proof that the product has undergone rigorous testing and meets a long list of specific requirements.
A traffic cone without this marking simply does not belong on a Swedish road. Using a non-approved product is not only illegal, it is a direct safety risk. You simply cannot rely on it to do its job when it really matters.
What does EN 13422 mean in practice?
The EN 13422 standard goes into detail and covers several critical aspects of a traffic cone’s design and function. You can think of it as a quality checklist that ensures all traffic cones for road use maintain a consistent, high standard.
Here are some of the most important features that are tested:
- Stability: The cone must withstand the wind blast from passing trucks without tipping over. The standard sets exact requirements for weight and design to make sure it stays where you put it.
- Colorfastness and luminance: The classic orange or red color must have a certain brightness (luminance) to be clearly visible in daylight. Colorfastness is also tested so that the color does not fade from the sun’s UV rays and lose its visibility over time.
- Retroreflectivity: Will the cone be used in the dark? Then the reflective material must meet specific classes (such as RA1 or RA2) to effectively bounce back light from vehicle headlights.
- Physical durability: A traffic cone must withstand being hit at low speed without shattering into sharp pieces that can puncture tires or be flung away like projectiles.
Choosing a CE-marked traffic cone is therefore the first and most important step toward a safe and compliant barrier setup. If you want to dig deeper, you can read more about safety, certification and standards for road safety products.
The Swedish Transport Administration’s guidelines and the V3 principle
CE marking is the foundation, but beyond that, the Swedish Transport Administration (Trafikverket) governs how road signs and devices are to be used in practice. Its regulations, often referred to as V3 (Vägar och gators utformning – road and street design), provide detailed instructions on how a barrier setup should look depending on the type of road and the applicable speed.
The V3 principles are not recommendations but binding rules for everyone working on or near state roads. Cutting corners on them can lead to hefty penalty fees and revoked permits.
Among other things, the rules specify what size the cone should be. A 500 mm cone may be perfectly adequate in a parking lot, but out on a 70 km/h road, a much taller and more visible 750 mm cone is required to give drivers enough time to react.
Following the rules is about creating a predictable and safe environment where road users instinctively understand what applies. A correctly executed barrier setup reduces the risk of accidents, protects the crew and contributes to a smoother traffic flow.
All traffic cones in the Nordguard range are developed to meet or exceed these strict requirements. We make sure our products are not only CE-marked but also adapted to the tough conditions on Swedish roads.
Not sure which rules apply to your specific project, or what type of traffic cone you need? Contact us for expert advice. We will help you navigate the regulations and make sure you get a solution that is safe, effective and fully by the book.
Choosing the right type of traffic cone for your project
Not all traffic cones are cast from the same mold, and choosing the right model is absolutely crucial for both safety and function. It is not just about checking off a legal requirement, but about matching the equipment to the specific environment. A cone that works perfectly in a sheltered parking lot can be completely unsuitable – and dangerous – on a windy highway.
By understanding the differences between materials, sizes and designs, you can make a smart decision that maximizes visibility, guarantees stability and delivers the most value over time. It is the difference between a barrier setup that works as intended and one that creates more problems than it solves.
The choice of material affects everything
Two materials dominate the traffic cone market: PVC (polyvinyl chloride) and rubber. Their features differ considerably and make them suitable for completely different situations.
- PVC cones: These are often lighter and more flexible. Their big advantage is that they can spring back to their original shape after being hit at low speed, which extends their service life. They are an excellent choice for urban environments or lower-speed areas where the risk of occasional contact with vehicles is higher. The lower weight also makes them easier to handle and transport.
- Rubber cones (often made from recycled material): Rubber cones, especially those with a heavy, integrated base, offer superior stability. Their weight makes them ideal for high-speed roads or exposed locations where the wind blast from a truck would otherwise easily knock over lighter cones. They are robust and extremely durable – built to handle really rough treatment.
Choosing between PVC and rubber is therefore a matter of weighing flexibility against stability. For road work along a rural road, a heavy rubber cone is the obvious choice, while a flexible PVC cone may be more practical for a temporary barrier at a school.
Stackable design or fixed base
In addition to the material, the cone’s construction matters. There are two main options here, each with its own advantages.
Stackable traffic cones are designed for efficiency. Their shape allows them to be stacked tightly together, minimizing the space required for both transport and storage. For contractors and municipalities handling hundreds of traffic cones every day, this is a huge advantage.
Cones with a fixed, heavy base instead prioritize maximum stability. The base, often made of solid rubber, gives the cone a low center of gravity that makes it extremely difficult to tip over. This design is indispensable in high-speed or very windy environments.
A simple rule of thumb: If transport and storage are your biggest challenge, choose stackable cones. If maximum stability on site matters most, choose a model with a heavy base.
Which size should you choose?
The size of a traffic cone is directly linked to the speed of the traffic. A taller cone simply gives drivers more time to spot and react to the barrier. Using a cone that is too small on a fast road is a serious safety risk.
The image clearly shows how the different heights compare to each other and gives a good sense of how much visibility actually increases with size.
To make the choice even easier, we have put together a quick guide.
Choosing the right traffic cone for different environments
Here is a comparison of the most common cone types and where they work best. The table helps you quickly identify the right solution for your specific needs.
| Cone type (Height/Material) | Typical use | Key advantages | Examples from Nordguard |
|---|---|---|---|
| 500 mm (PVC/Rubber) | Parking lots, schoolyards, industrial areas, events | Easy to handle and store, cost-effective | Perfect for temporary marking at low speeds |
| 750 mm (Heavy rubber/PVC) | Public roads, city traffic, construction sites | Good all-around visibility, standard for most road work | The most common and versatile cone |
| 1000 mm (Heavy rubber) | Highways, high-speed roads, particularly exposed locations | Maximum visibility at long distances, often a requirement | Indispensable for safety at high speeds |
Matching the right cone to the right situation is more than just following rules – it is about creating the safest and most effective barrier setup possible. By investing in the right equipment from the start, you save both time and money while ensuring the safety of everyone involved. We offer a wide range of specialized and approved barrier cones for every conceivable project.
Choosing the right traffic cone can feel complicated with all the rules and options. If you are unsure which type, size or material is best for your project, don’t hesitate to get in touch. Our experts will help you analyze your needs and recommend a solution that is safe, cost-effective and tailored to your conditions.
How reflectors ensure visibility in all weather
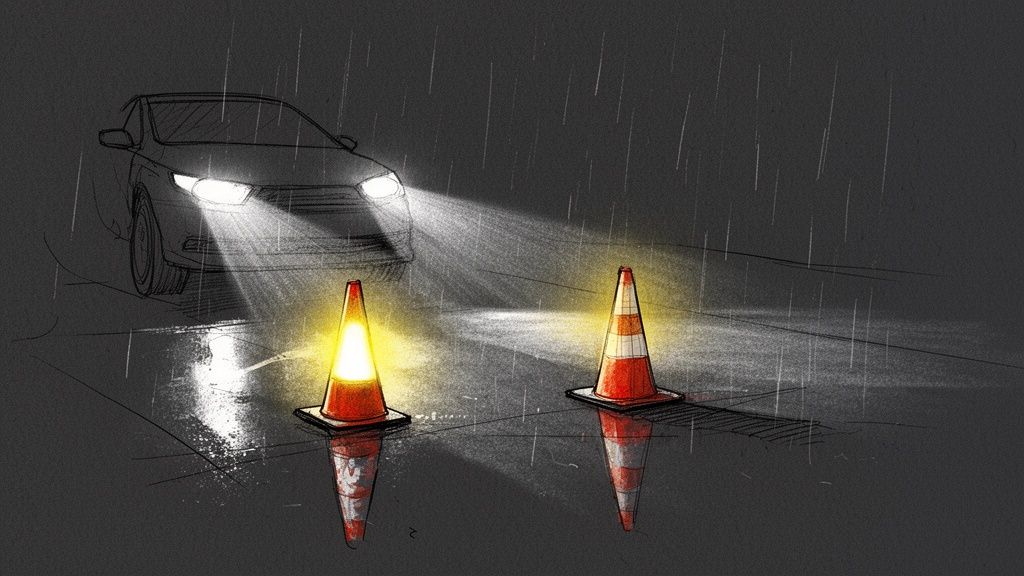
A traffic cone’s single most important job is to be seen. In full daylight, the bright orange color does the job, but as soon as dusk falls, fog rolls in or rain lashes the windshield, the reflectors take over. They make the difference between a safe workplace and an outright dangerous situation.
Without a good reflector, the cone becomes practically invisible in the dark. Skimping on reflector quality therefore means compromising the safety of both crews and road users. It is all about giving drivers that extra second to react, whatever the weather.
The difference between RA1 and RA2
The EN 13422 standard, which governs everything related to traffic cones, divides reflective materials into different classes to guarantee a certain level of performance. The two you will encounter most often are RA1 and RA2, and the difference between them is bigger than you might think.
- RA1 (Retroreflective Class 1): This is the standard reflector. It works well in lower-speed environments with reasonable lighting, such as inside an industrial area or on a lit city street. It reflects enough light to do the job there.
- RA2 (Retroreflective Class 2): This is a whole different ballgame. A high-intensity reflector that often returns three to four times more light than RA1. It is built with microprisms that capture and return light extremely efficiently, making the cone visible from much greater distances.
Think of an RA2 reflector as a sharp mirror that sends nearly all the light straight back toward the driver’s eyes. An RA1 reflector is more like a matte surface that scatters light in different directions, making it weaker at a distance.
Will you be working along a rural road or highway where speeds are high? Then RA2 is almost always a requirement – and definitely the safest choice. Every second counts.
Why placement and surface area are crucial
Having a good reflective material is not enough; it also has to be positioned correctly. The standard is clear that the total surface area and placement of the reflector must guarantee visibility from every direction – 360 degrees.
The reflective bands must be positioned so that the cone is equally visible no matter how it has turned in the wind or after a minor impact. A driver should get the same clear warning regardless of the angle of approach. A damaged cone with a detached reflector is a safety risk and must be removed immediately. A high-quality reflective cone is built so that the reflective material stays firmly in place and withstands rough treatment.
The reflector is simply the heart of the cone’s function once darkness falls. Choosing a cone with a high-performance reflector such as RA2 is one of the simplest and most important things you can do to protect your crew and guide traffic safely.
Placement and spacing – a practical guide
Having the right traffic cones is one thing, but how you use them is what truly creates safety. Correct placement is about giving road users clear, early signals, guiding them predictably and building a safe work zone for your team.
Putting out cones haphazardly mostly creates confusion and can even be dangerous. A well-planned barrier setup, on the other hand, follows a few simple but crucial principles. It is based on logical distances and angles that minimize risks and keep traffic flowing.
Rules of thumb for spacing between traffic cones
So how close together should the cones actually be? The answer depends almost entirely on one thing: the speed limit on the road. The faster the traffic, the greater the distance required between cones. That gives drivers time to perceive and calmly adapt to the new situation. Cones placed too close together on a fast road can feel like driving toward a wall, which easily leads to panic braking.
A super simple and effective rule of thumb is that the spacing in meters should match the speed limit in km/h.
- 30 km/h (urban environment): Aim for about 30 meters between cones.
- 50 km/h (rural road/city street): Increase the spacing to 50 meters.
- 70 km/h (major rural road): Here, 70 meters of spacing applies.
This rule is perfect for straight sections of the barrier setup. But when you need to redirect traffic, for example into another lane, you need to think a little differently.
How to create a safe taper
When traffic needs to shift sideways, as in a lane change, the angled line of cones is called a taper (or “avsmalning” in Swedish). Here you must place the cones much closer together to create a solid visual line that nobody is tempted to cut through.
Within the taper itself, you halve the spacing between cones. So if you have 50 meters between cones on the straight section, you should go down to about 25 meters of spacing in the taper.
The closer spacing makes the transition smooth and predictable and reduces the risk of sudden, dangerous maneuvers. The length of the taper is also crucial – the higher the speed and the greater the lateral shift, the longer it needs to be. A generous taper is always a safer taper.
Don’t forget the buffer zone
Immediately after the taper and before the actual work area begins, you must leave an empty space – a safety zone or buffer zone. It is a safety margin, marked with traffic cones, that exists for a reason. If a driver misjudges the situation and hits a cone, the zone provides extra time and distance before the vehicle reaches crews or machinery.
The length of the buffer zone is also determined by speed. Higher speeds require a longer buffer. This is a “no-go” zone; neither crew nor equipment should be here. It exists solely for safety.
Common scenarios and practical tips
Let’s look at how this works in practice.
Scenario 1: Lane change on a 70 km/h road
- Advance warning: Start with warning signs well ahead of the barrier.
- Taper: Create a long, smooth taper. At 70 km/h, the cones here should be spaced about 35 meters apart.
- Buffer zone: After the taper, add a buffer zone of at least 70–100 meters before the work area actually begins.
- Work area: Along the work site itself, you can return to normal spacing, that is, 70 meters between cones.
Scenario 2: Barrier in a parking lot
Here the conditions are completely different, with low speeds.
- Clear barrier: Place the cones close together, perhaps just 5–10 meters apart, to create an unmistakable visual boundary.
- Entrance and exit: Clearly mark where authorized traffic should enter and exit.
- Combine: For extra clarity, it is smart to supplement your traffic cones with barrier tape or barriers to really frame the area.
By using these basic methods, you make sure your barrier setup works as intended – creating a safer environment for everyone. Every situation is of course unique. If you are unsure how best to design your barrier setup, don’t hesitate to contact us. Our experts can advise you and help you plan your project by the book.
Care and storage that extend service life
Your traffic cones are an investment in safety, and like all important tools, they deserve to be looked after. With a little regular care, you can extend their service life significantly. Not only does this lower your long-term costs, it also ensures they perform at their best when they are really needed.
A dirty or damaged cone is simply less visible. By setting up a few simple routines for cleaning and smart storage, you make sure your equipment is always ready for the next job.
Regular inspection and cleaning
After a shift, especially at road work sites, the cones are often covered in road dust, exhaust residue and other dirt. This grime forms a film over the reflectors and the bright color, quickly reducing visibility – especially at dusk, in the dark and in bad weather.
A simple wash makes a big difference. Use a soft brush and a mild detergent, such as ordinary soap, to remove the dirt. A good tip is to avoid harsh chemicals and not to aim a pressure washer directly at the reflective bands, as this can damage both the adhesive and the material.
Take the opportunity to do a quick visual check at the same time:
- Look for cracks: Check both the body and the base of the cone, especially if it may have been hit. A cracked cone is not as stable.
- Check the reflectors: Are the reflective bands firmly attached? Have they started to peel, fade or come loose at the edges?
- Assess the color: The sun’s UV light breaks down plastic and pigments over time. If a cone looks noticeably paler and duller than the others, it is time to replace it.
The image shows how a safe barrier setup is built in three steps: first a taper to guide traffic correctly, then a buffer zone and finally the actual work area where the job is done.
Smart storage extends service life
How you store your traffic cones matters just as much as cleaning them. Simply tossing them in a pile outdoors in direct sunlight is the fastest way to shorten their service life.
Always store the cones stacked and upright, ideally protected from direct sunlight. Prolonged exposure to UV radiation breaks down the plastic, makes it brittle and causes both the color and the reflectors to lose their brilliance.
If possible, store them indoors in a storage room or at least under a roof. This not only protects them from the sun but also keeps them cleaner and reduces unnecessary wear. Stacking them correctly ensures they keep their shape. Well-organized storage also makes it much faster to load and take inventory of the equipment before the next job.
Need to add to your equipment or looking for smarter storage? Contact us at Nordguard for expert advice on how best to care for your safety equipment and make sure it measures up, year after year.
Frequently asked questions about traffic cones
Here we have gathered some of the most common questions we get about traffic cones. The answers are straightforward and simple, so you can quickly find what you need for your project.
What height of traffic cone should I choose?
The choice of height depends entirely on where the cone will be placed. For calmer, low-speed environments such as a parking lot or schoolyard, a 500 mm cone is usually perfectly adequate.
If, on the other hand, you will be working on a public road where cars travel at up to 70 km/h, 750 mm is the standard. This height is clearly visible even at somewhat higher speeds. For highways and other roads with higher speeds (over 70 km/h), 1000 mm is almost always required, simply to give drivers enough time to spot and react.
Do all traffic cones need reflectors?
Yes – if they are to be used on public roads or in areas with traffic after dark, CE-marked reflectors are an absolute legal requirement. Reflectors are crucial for making the cone visible in darkness, rain and fog.
If you will only use the cones privately in full daylight, perhaps to mark a course on a sports day, there is no legal requirement. But for safety’s sake, it is always a good idea. All traffic cones in our range intended for road work naturally come with approved, high-quality reflectors.
Putting out a cone without reflectors at night is like hoping a flashlight will shine without batteries. The reflectors are simply what allow the cone to do its job once darkness falls.
How close together should I place the traffic cones?
A good, simple rule of thumb is that the spacing between cones in meters should correspond to the speed limit in km/h. If the speed limit on the stretch is 50 km/h, place the cones about 50 meters apart.
When guiding traffic toward a work area, for example at a taper, you should halve the spacing. This gives road users much clearer and safer visual guidance.
Remember that every project has its own conditions and that requirements can vary. To be sure you follow all the rules and create a safe barrier setup, get in touch with us at Nordguard. We are happy to help you with a free needs assessment and sound advice to find the right traffic cones for your needs. https://nordguard.eu
Ready to take the next step?
We help you develop solutions tailored to your needs. At Nordguard, we strive to make the ordering process as smooth as possible. By offering support and guidance throughout the entire purchasing experience, we make sure you feel confident and satisfied with your choice of protection products.+46 10 153 90 50
[email protected]