
Wall-Mounted Bike Racks That Optimize Space and Security
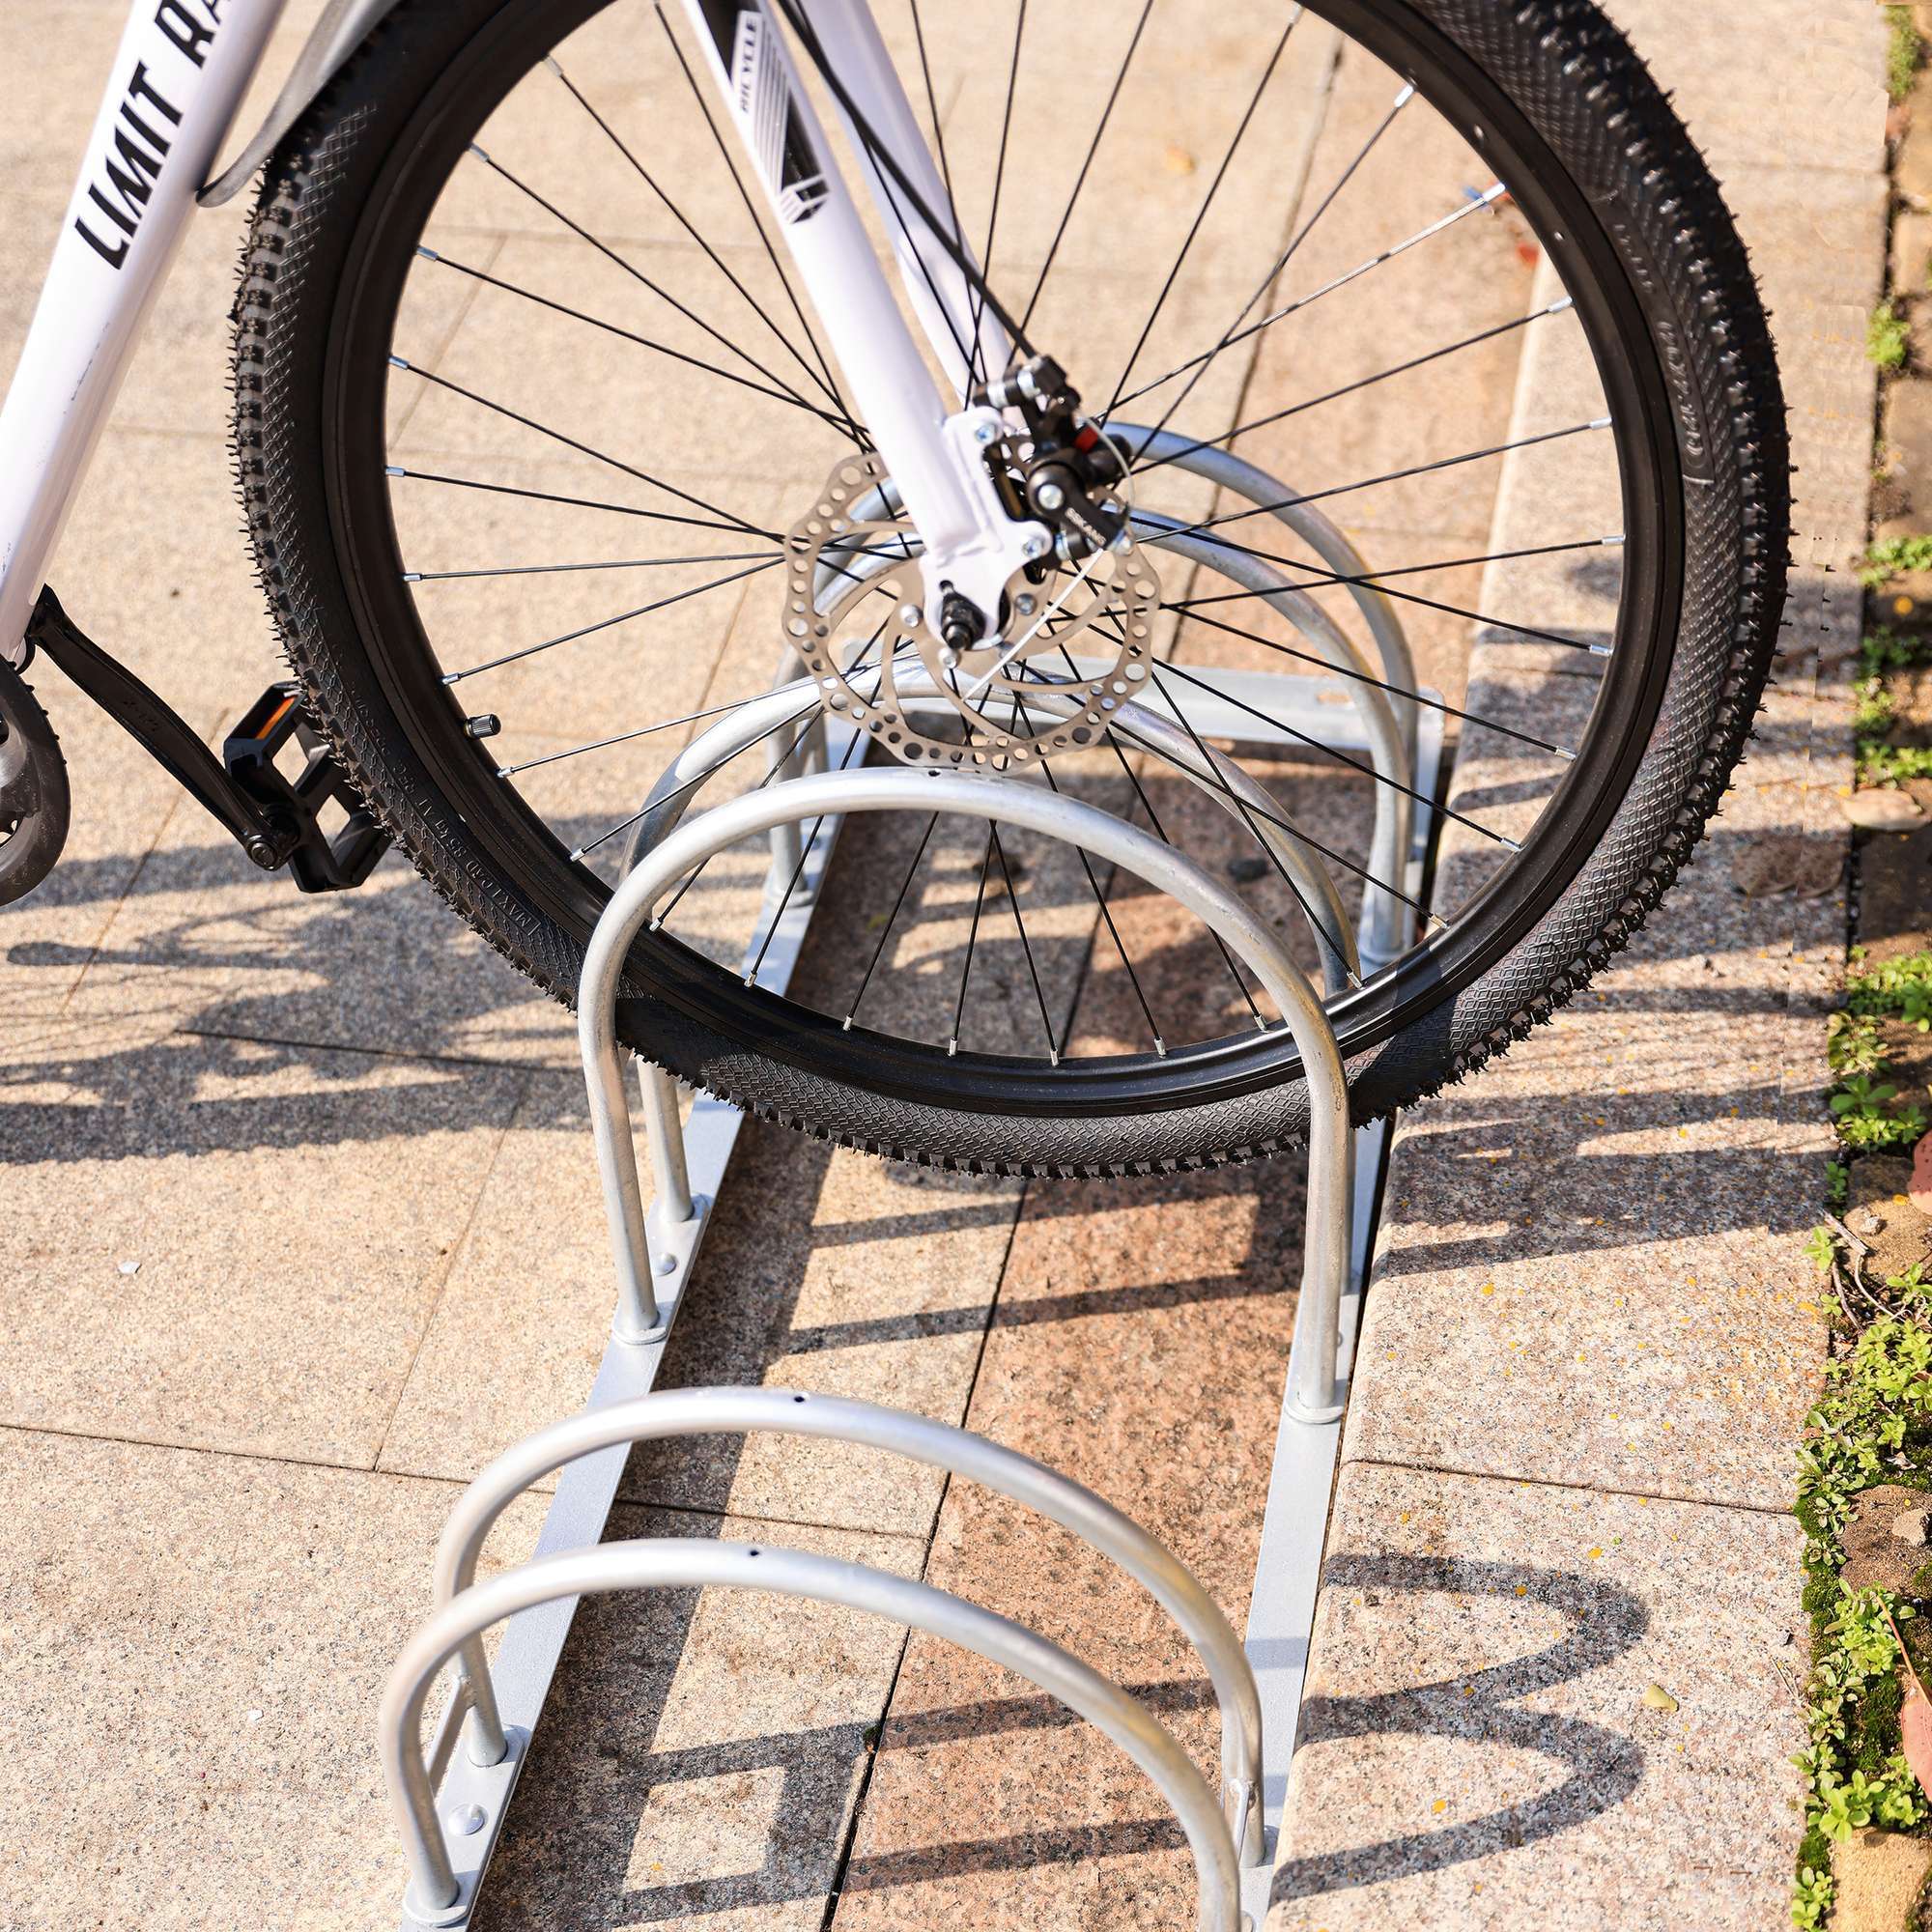
A wall-mounted bike rack is by far the smartest way to turn overcrowded bike rooms into organized, space-efficient areas. Lifting bikes off the floor frees up valuable space instantly, while significantly improving both order and security for property owners and housing associations.
From cramped bike rooms to smart storage
Sound familiar? More and more people are choosing to bike, which creates a growing problem in many properties: where do all the bikes go? Overflowing bike rooms, cluttered courtyards and bikes blocking walkways are a common sight. This doesn’t just create a mess – it also increases the risk of damage and theft, a problem that calls for a more thoughtful solution than simply leaning bikes against each other.
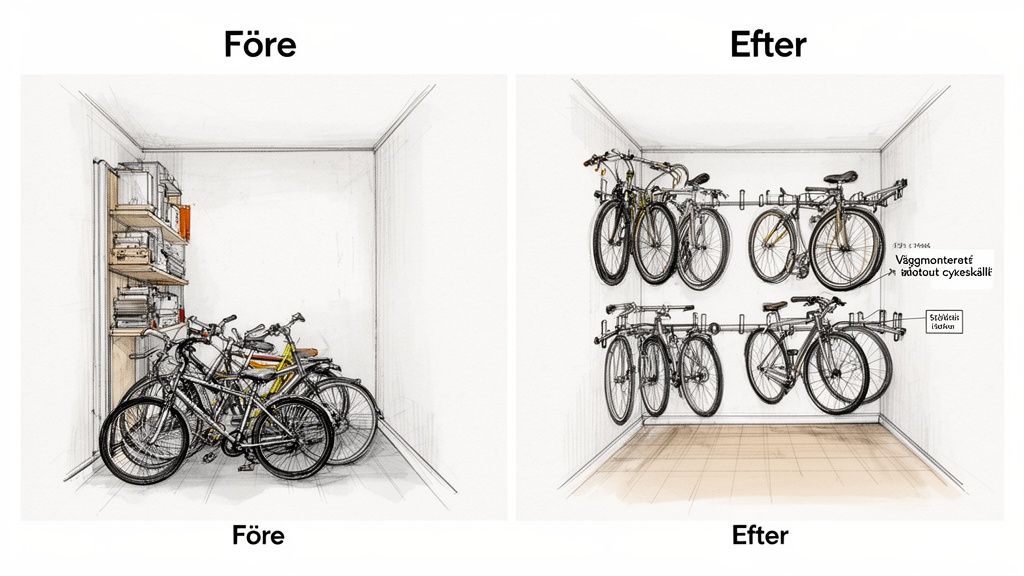
A wall-mounted bike rack is much more than a storage gadget; it’s a strategic investment in the functionality and security of your property. By making use of the vertical wall space, you turn chaos into a structured, secure environment.
The growing challenge of bike parking
This isn’t just a feeling – it’s clearly reflected in the statistics. The number of bike trips in Sweden has risen dramatically. Recently, cycling accounted for as much as 13 percent of all trips in major cities such as Stockholm and Gothenburg, an increase of 24 percent since 2018.
This places entirely new demands on smart parking solutions such as wall-mounted bike racks, especially in densely built-up areas where every square meter counts. You can read more about the growing demand for bike parking here.
Ignoring the problem often leads to:
- Overcrowded spaces where just finding and getting your own bike out becomes a project.
- Increased risk of damage to both bikes and walls when everything is leaned against everything else.
- Higher risk of theft, since disorganized bikes are easier prey for thieves.
- Lower resident satisfaction for those who face a cluttered and unsafe environment every day.
The solution is to think vertically
Simply lifting the bikes off the floor solves several problems at once. A wall-mounted system immediately frees up floor space that can be used for other things, such as strollers, walkers or extra storage. It also creates clear, defined spots for each bike, minimizing tangles and scratches.
Here’s a quick overview of how wall-mounted bike racks compare with traditional alternatives.
Bike parking comparison
| Feature | Wall-mounted bike rack | Floor-standing bike rack |
|---|---|---|
| Space efficiency | Excellent, frees up floor space | Requires dedicated floor space |
| Organization | Every bike has its place | Can get messy, bikes get tangled |
| Accessibility | Easy to get to your bike | Harder when it’s full |
| Security | Better locking, lower risk of damage | Varies, risk of scratches |
As the table shows, the benefits of using your walls are clear – it’s a superior solution for modern properties.
For property owners and housing associations, well-planned bike storage means not only happier residents but also higher property value. An organized, secure environment is an attractive feature on the housing market.
At Nordguard, we know every property has its own unique conditions. That’s why we offer complete, customized solutions designed to withstand Nordic conditions. We don’t just solve bike parking – we can also help you create a safe and functional outdoor environment with products such as bollards and trash cans. We’ll help you find the optimal solution for your specific space, whether it’s a cramped basement storage room, a garage or a courtyard.
Need expert help planning your bike parking? Contact us and we’ll help you turn a problem space into a functional, value-adding asset.
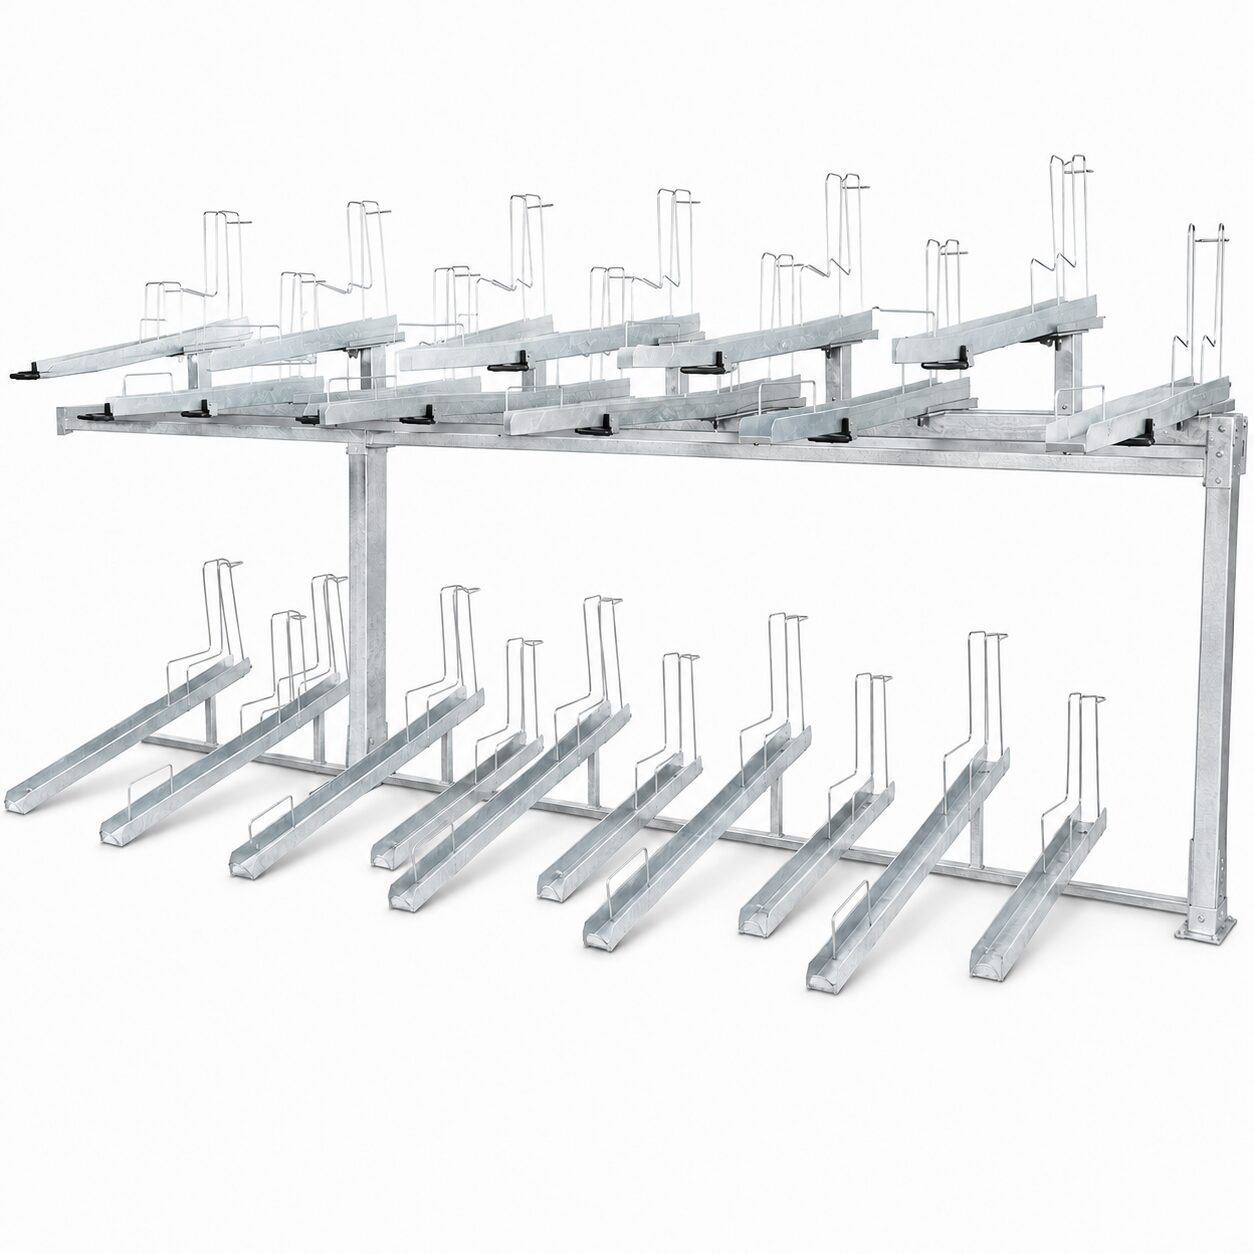
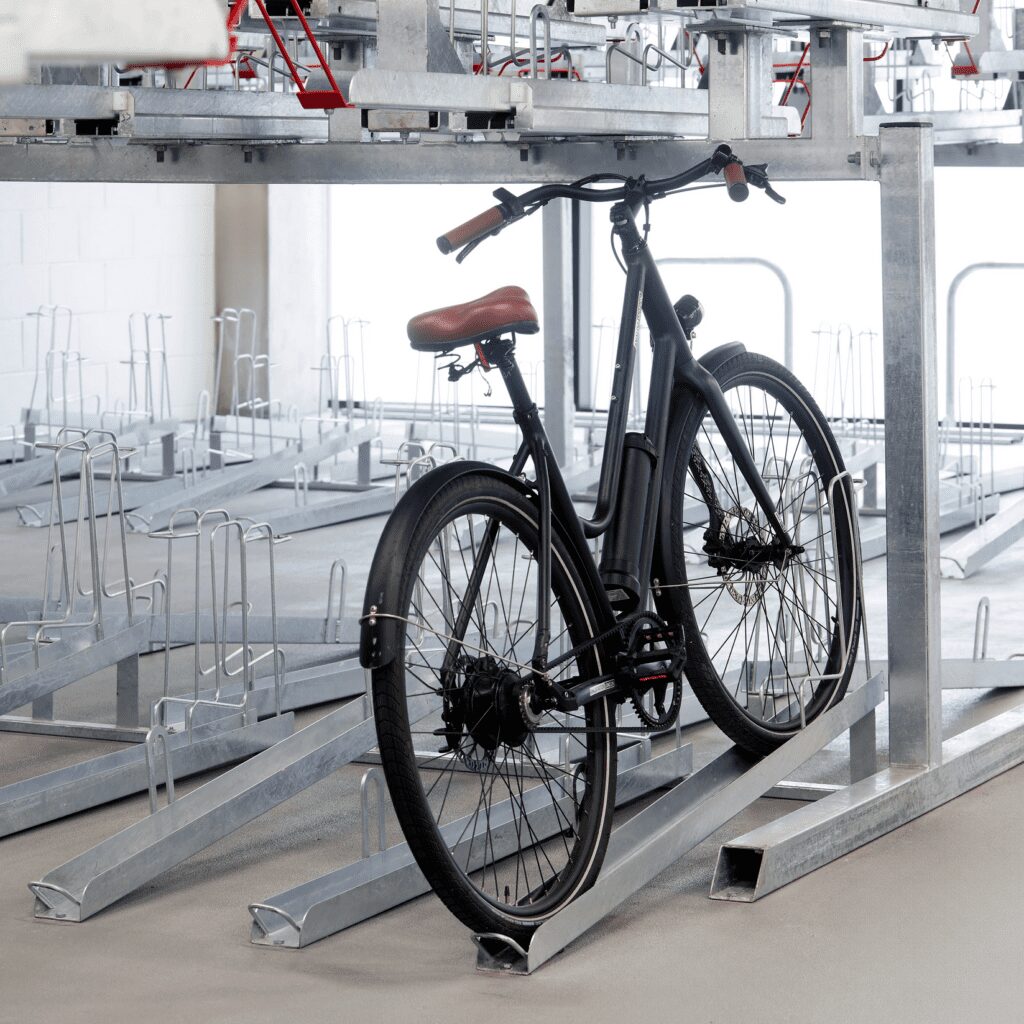
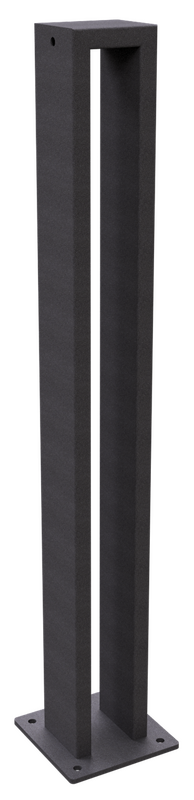
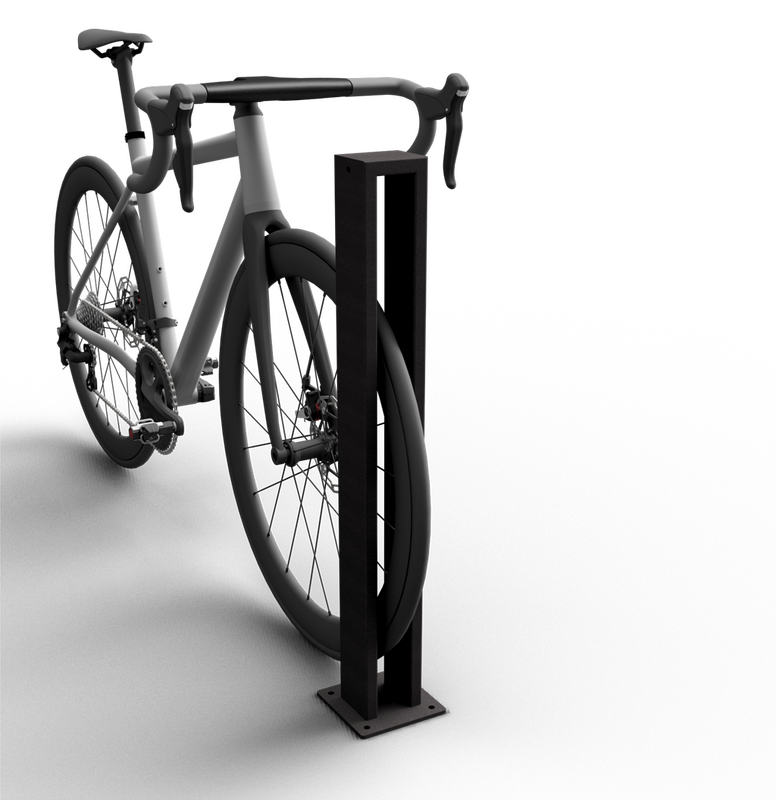
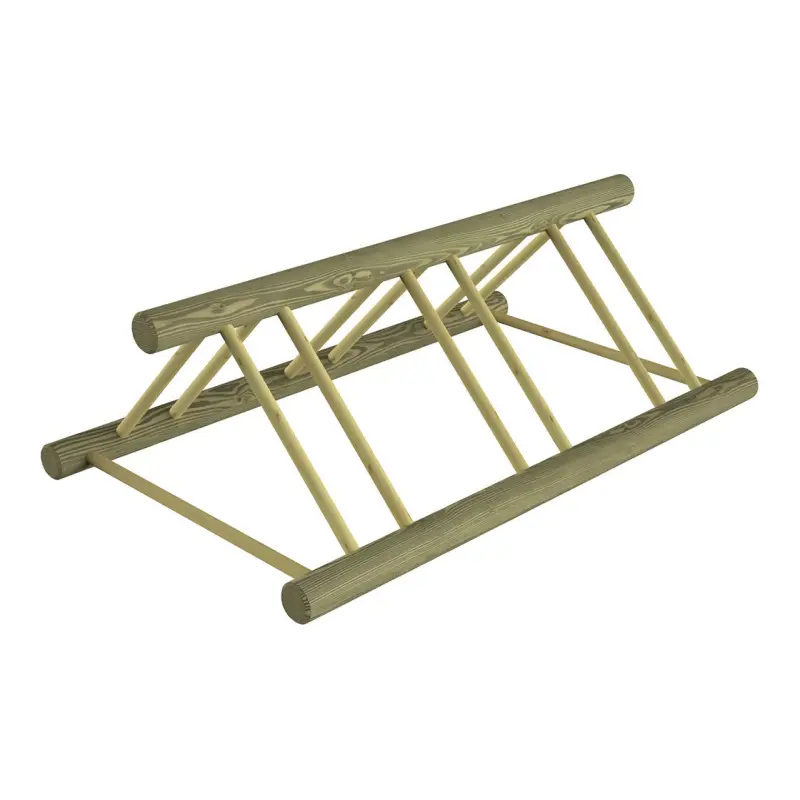
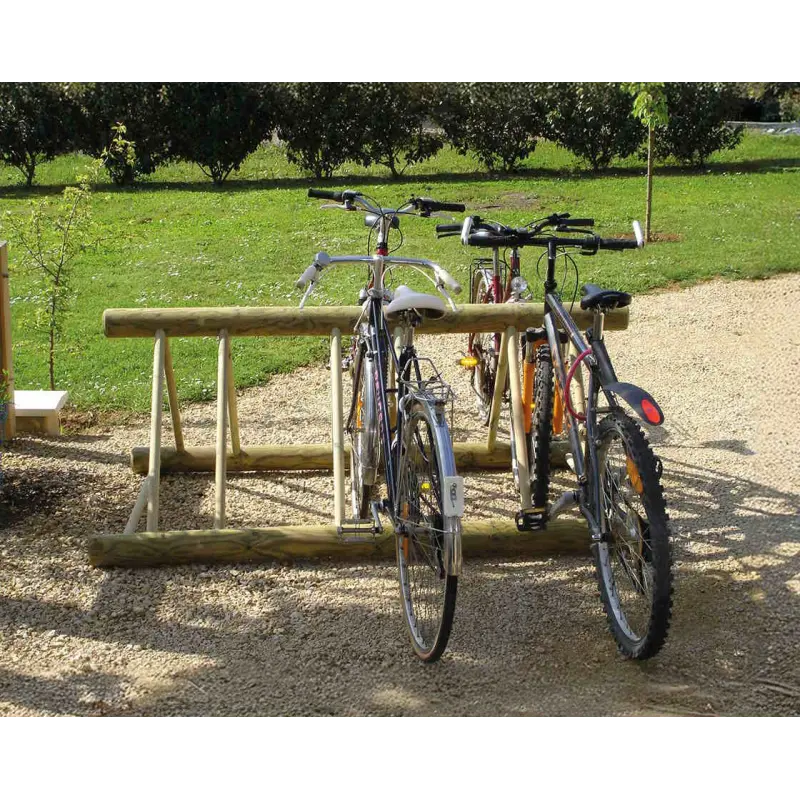
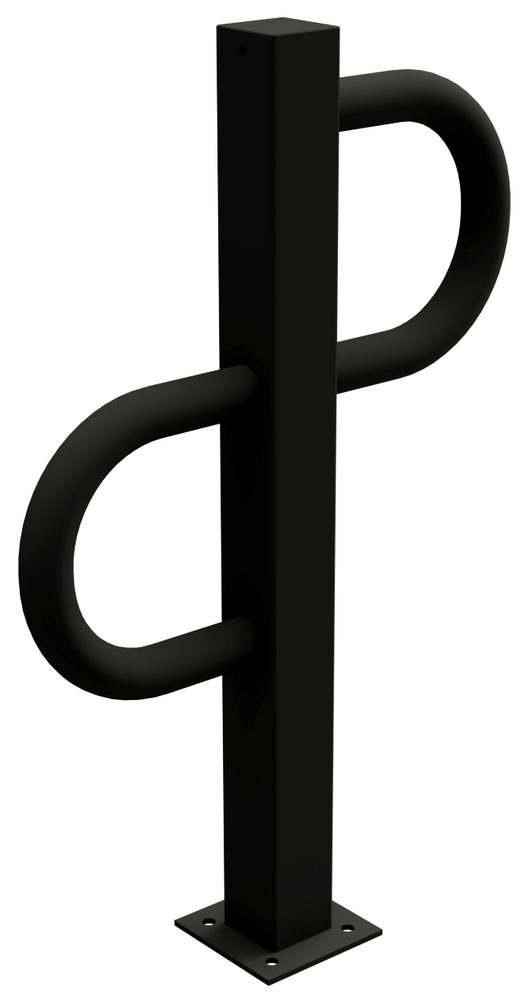
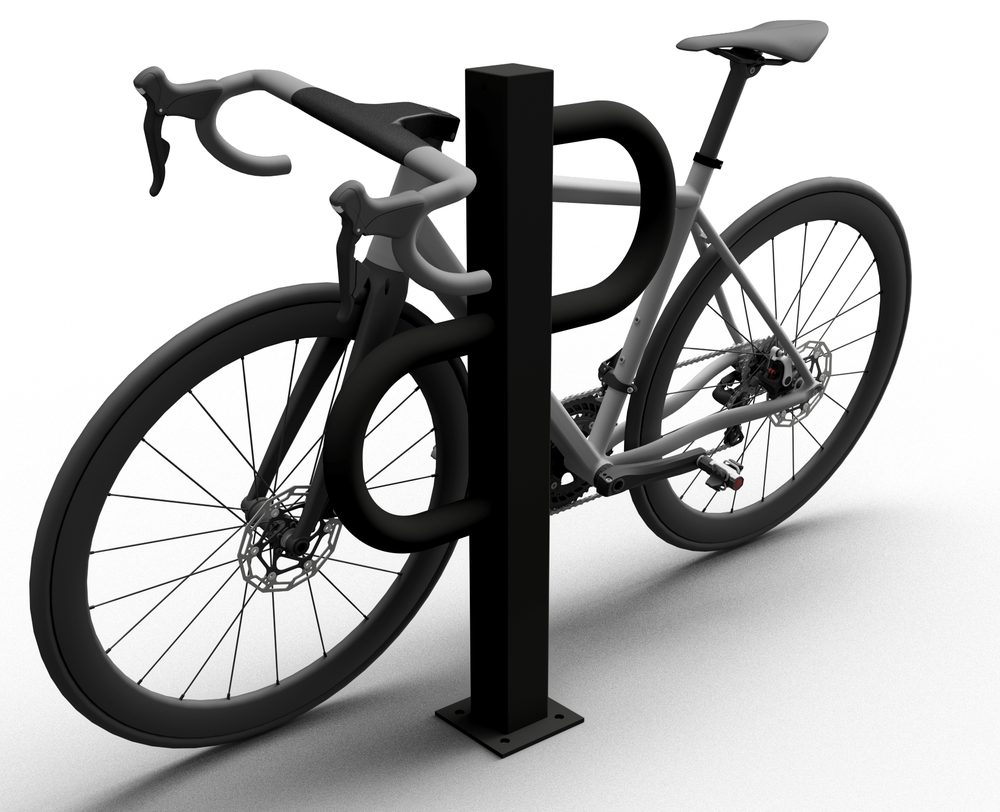
 Black
Black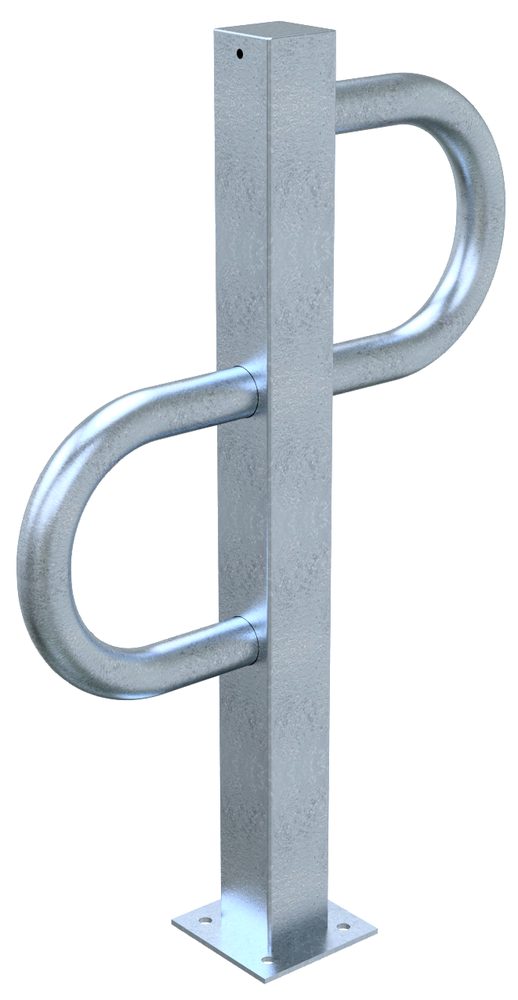 Silver gray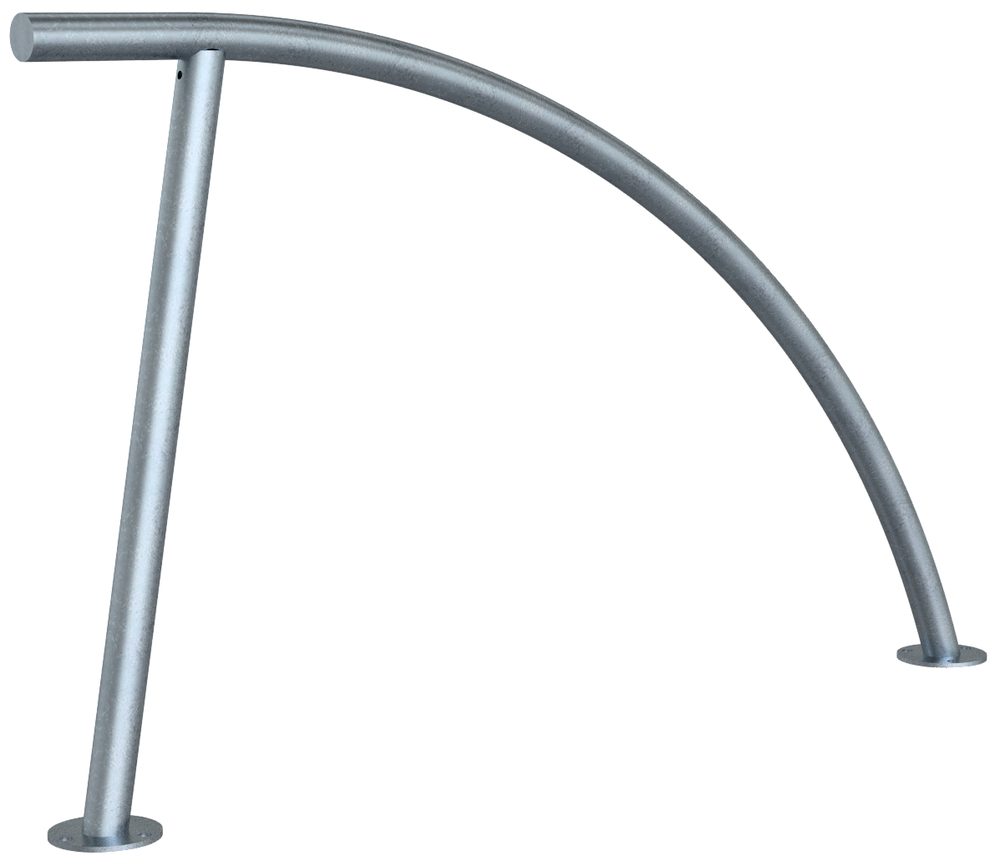
 Anthracite
 Silver gray
How to choose the right wall-mounted bike rack
Choosing the right wall-mounted bike rack can feel like navigating a jungle of models, materials and functions. But don’t worry – it’s easier than you think. By breaking the decision down into smaller parts, you’re sure to find the right solution for your property, whether you’re a property manager, a board member or a contractor.
The key is to look beyond the number of bike spaces and focus instead on how the space will actually be used. In the worst case, the wrong bike rack can create more clutter than it solves. That’s why everything starts with a careful look at the conditions on site.
Start with the conditions of the space
Before you even start looking at products, take a step back and analyze the wall and the room. Is it a long, narrow basement corridor or a spacious garage with a high ceiling? The shape and size are crucial in determining which type of rack works best.
- Vertical bike racks are worth their weight in gold in tight spaces. The bike hangs upright and the rack barely protrudes from the wall at all – perfect for maximizing floor space.
- Horizontal bike racks are better suited where you have plenty of wall space but limited depth, such as along a long garage wall.
- Angled racks are a smart compromise in corridors, since they reduce how far the bike sticks out and obstructs the passage.
Another pro tip for maximizing capacity is to go with high/low models. By mounting the hooks staggered at different heights, the handlebars can overlap. This lets you place the bikes much closer together without them getting tangled. That way, you can almost double the number of spaces in the same area.
Choosing materials for the Nordic climate
In Sweden, it’s not just the bikes that need to be tough. Equipment in basements or outdoors is constantly exposed to moisture, salt and large temperature swings. Material choice is therefore not just a matter of appearance – it’s crucial for service life and maintenance.
Hot-dip galvanized steel is the industry standard for a reason. The zinc coating creates a protective barrier that actively resists rust and corrosion. The result is a virtually maintenance-free product that lasts for decades.
Skimping with a cheaper, untreated material may seem smart at the time, but it almost always leads to costly repairs and replacements down the line. A robust design not only protects your investment – it also ensures the safety of users. A good example of a durable and functional design is our Wallmount wall-mounted bike holder, built to handle exactly these tough conditions.
Designed for the bikes of today and tomorrow
The bike fleet doesn’t look the way it did ten years ago. E-bikes – which are both heavier and have wider frames – are quickly becoming the norm. A modern bike rack has to be able to handle this development.
Make sure the model you choose supports a higher maximum weight and has a design that fits everything from a light road bike to a heavy e-bike with a cargo basket. It’s a simple way to future-proof your storage and make sure all residents can actually use it. And don’t forget ease of use – hanging up and taking down a bike should be easy, without needing to be a weightlifter.
This development is no coincidence. Forecasts from the Swedish Transport Administration indicate that urban bike traffic will grow by as much as 35 percent by 2030, equivalent to 1.2 million daily bike trips. Property owners are already taking action: in the Stockholm region alone, more than 4,500 wall racks have been installed since 2020, since they free up to 60 percent more floor space than traditional floor-standing racks.
To make your choice easier, we’ve put together a checklist.
| Question | Description | Your needs |
|---|---|---|
| Capacity needs? | How many bike spaces are needed now and in 5 years? | Quantity: _____ |
| Space dimensions? | What is the height and width of the wall? | H: ___ m, W: ___ m |
| Which bike types? | Does the rack need to handle heavy e-bikes and wide tires? | Yes / No / Don’t know |
| Security requirements? | Are sturdy locking loops needed for frame locking? | High / Medium / Low |
| Wall material? | Is the wall made of concrete, brick or another material? | Material: _____ |
By answering these questions, you’ll end up with a clear set of requirements. That makes it a breeze to compare different models and ensures you invest in a solution that truly fits your property.
Still finding it tricky? Contact us at Nordguard and we’ll help you analyze your space and find the best solution, from start to finish. Feel free to browse our range below for some inspiration.
Guide to safe and durable mounting
A wall-mounted bike rack is never stronger than its anchoring. It doesn’t matter how robust the rack itself is if the screws pull out of the wall. A sloppy installation can not only damage the wall but, in the worst case, cause bikes to fall and get ruined. Getting the mounting right is simply essential.
The process starts long before you drill the first hole. It’s all about understanding the wall material and choosing the right anchoring for the specific load.
Choose the right anchoring for your wall
The very first thing you need to find out is what the wall is made of. Different materials require completely different types of screws and anchors to handle the weight of several bikes – especially as heavy e-bikes become more and more common.
- Concrete walls are by far the best and easiest substrate to work with. Here, expansion bolts or heavy-duty concrete screws are the way to go, providing an extremely strong and reliable anchoring.
- Brick walls can be a bit trickier, as they are often more porous. The key here is to use a longer, high-grade anchor, such as a universal anchor or a special brick anchor, that truly expands and grips inside the material.
- Wood walls require you to screw the rack directly into the wood studs behind them. Fastening to thin wood paneling alone won’t hold. Use a stud finder to locate the studs, then secure the rack with heavy-duty lag screws.
A common but extremely dangerous mistake is trying to mount a heavy bike rack directly into drywall. Drywall can’t handle that kind of point load and pull-out force. It’s almost guaranteed that the rack will come crashing down. The anchoring must always be in a load-bearing material behind the drywall.
To make planning your installation easier, you can think of the process as a chain of decisions. The graphic below illustrates how analyzing the space, choosing the rack and assessing the material are all connected.
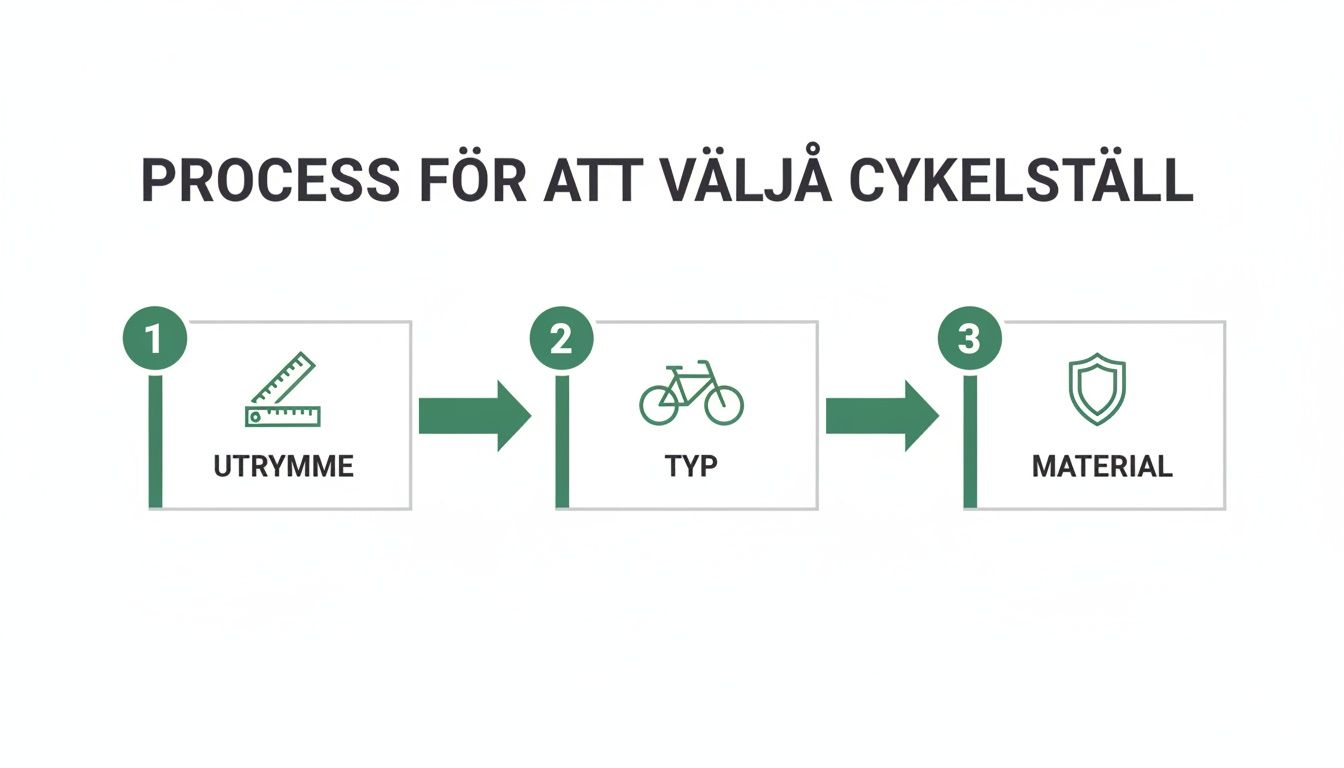
As the image shows, these steps together lead to a successful and safe mounting.
Tools and step-by-step mounting
Once you know what material you’ll be drilling into and have the right screw and anchor ready, it’s time to get out the tools. A successful mounting is all about precision.
Recommended tools
- Drill or hammer drill – Depending on whether it’s wood, brick or concrete.
- The right drill bit – Suited to the material (masonry bit, wood bit, etc.).
- Spirit level – To make sure the rack is mounted perfectly straight.
- Tape measure or folding rule – To measure out the placement correctly.
- Stud finder – Indispensable if you’re mounting on a wood or drywall wall.
- Impact driver or socket set – To tighten the screws with the right torque.
Once everything is in place, carefully measure where the holes should be drilled. Use the spirit level to make sure everything is level before you mark and drill. To be completely sure you have the right hardware, you may need a complete mounting kit for suspended installation, which contains everything you need for a professional installation in solid materials.
When should you hire a professional?
For larger projects, such as in a housing association, an office garage or a public facility, it’s almost always wise to bring in professional help. If you’re even slightly unsure about the load-bearing capacity of the wall, or if the installation involves a large number of bike spaces, an experienced installer can make the difference between success and failure.
A professional installation not only ensures safety but also optimizes placement to make the most of the space and make it easy for users. It gives you peace of mind as the client and assurance that your investment will last for many years.
How to protect bikes from theft
Installing a good wall-mounted bike rack is about so much more than just getting bikes out of the way and saving space. It’s actually one of the smartest investments you can make to reduce the risk of theft. Given how common bike theft is, secure storage quickly becomes a decisive factor in how safe and attractive a property is perceived to be.
We’ve all seen it: a pile of bikes in a dark basement storage room or tossed in a courtyard. It’s like an open invitation to thieves. It takes no time to grab an unlocked bike or to cut a lock completely undisturbed. A wall-mounted system creates order and immediately makes things much harder for the thief.
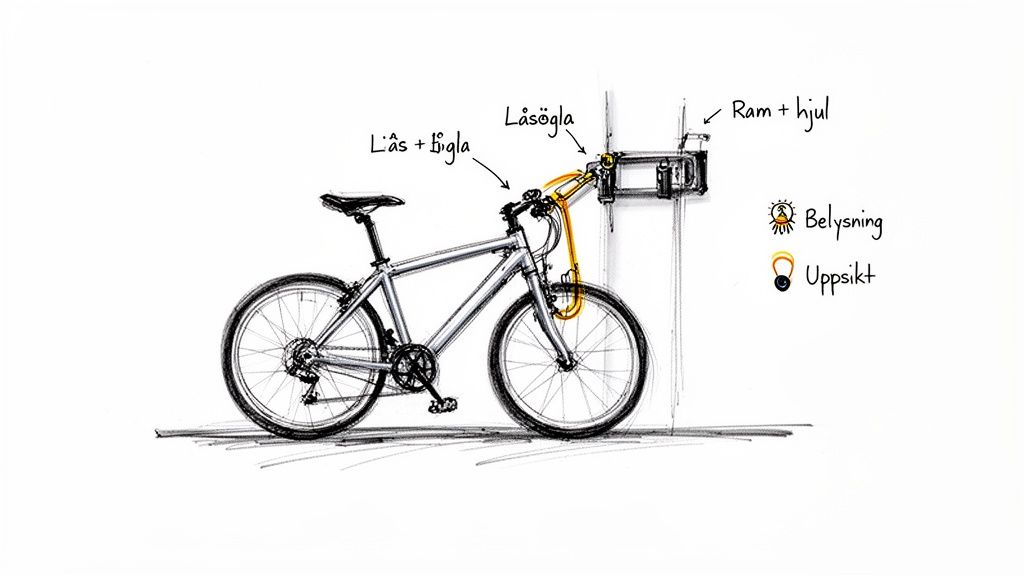
The design that makes thieves give up
So what separates a simple hook from a truly secure bike rack? It’s all in the details. For a rack to really work as theft protection, it has to be built to make the job as difficult and time-consuming as possible for the thief.
Here’s the essential point: you must be able to lock the bike’s frame, not just the wheel. Far too many basic racks only let you thread the lock through the front wheel. The thief can then simply remove the wheel and walk off with the rest of the bike. A secure rack must have a heavy-duty, integrated locking loop.
A really good locking loop is made of hardened steel and is large enough to fit modern, heavy-duty U-locks and chains. That way, the cyclist can lock both the frame and one of the wheels directly to the wall.
This is a fundamental security principle that makes an enormous difference. By providing a stable locking point, bikes become a far less tempting target. Products like our Chain Eye wall bracket are developed with exactly this in mind – to create an extremely strong and reliable anchor point.
Combine the right rack with smart placement
A secure bike rack is one piece of the puzzle, but not the whole puzzle. To build an environment that truly deters theft, you need to think about the bigger picture.
- Good lighting: Thieves like darkness. A well-lit bike room makes it much more uncomfortable and risky to stand there fiddling with a lock.
- Natural surveillance: If possible, place bike racks where people pass by. A location visible from windows or a walkway makes thieves feel watched.
- Clear signage: A simple sign about video surveillance or that the area is secured can actually make some thieves think twice.
By combining these factors, you build multiple layers of security that make your property a less appealing target. This isn’t guesswork – there’s clear evidence that it works.
In fact, statistics show that bike thefts in Sweden can drop by up to 45 percent in areas with secure, wall-mounted bike racks. According to the Swedish Police Authority’s annual report, more than 25,000 bikes were reported stolen, and as many as 62 percent of them were taken from street environments with no particular protection. That says a lot about how effective preventive measures really are.
Invest in tested, CE-marked products
To be completely sure the bike rack lives up to its promises, always choose CE-marked products. The CE marking is your guarantee that the product meets the EU’s essential requirements for health, environment and safety. It means the material and design have been tested to withstand both tampering and the elements.
A robust, well-designed and correctly mounted bike rack is a long-term investment in security. It not only protects residents’ belongings but also raises the standard and value of the entire property.
Maintenance that extends the life of your investment
A wall-mounted bike rack is more than just a practical detail – it’s a long-term investment in both the functionality and value of the property. And as with any smart investment, it pays to take care of it to get the maximum service life and benefit. Proactive maintenance isn’t about creating extra work; it’s about staying one step ahead, avoiding costly repairs and ensuring the safety of everyone who uses the rack.
By spending a little time on regular inspections, you make sure your wall-mounted bike rack works flawlessly, year after year. It protects not only the bikes but also the wall itself and the people moving around the space. A well-maintained facility also signals order and care, which enhances the overall impression of the property.
Regular inspections are key
The most important and simplest maintenance you can do is to check the bike rack at regular intervals. It doesn’t have to be complicated or time-consuming. A quick walkthrough a couple of times a year is often enough to spot small problems before they grow into big, costly ones.
Make a simple checklist so you don’t miss anything:
- Check the anchoring: Give the rack a gentle shake and check that all screws and bolts are tight. The constant load from bikes being hung up and taken down can create vibrations over time that loosen the fasteners.
- Inspect the welds: Take a closer look at all welds. Do you see any signs of cracks or rust? This is especially important in damp environments such as garages or covered outdoor areas.
- Look for damage: Has any part of the rack been bent, perhaps from an impact or careless handling? A damaged hook isn’t just unsightly – it can be a direct safety hazard.
- Examine the surface: Look for scratches or damage to the paint or galvanizing. That’s often where rust first takes hold.
Finding a loose screw in time can be the difference between tightening it in a minute and an entire bike rack crashing off the wall with several bikes on it. Regular inspection is the cheapest insurance you can have.
Material choices that minimize maintenance
The best way to simplify maintenance is to get it right from the start – at the time of purchase. In our Nordic climate, with moisture, road salt and large temperature swings, the material’s resistance to rust is absolutely crucial.
Hot-dip galvanized steel is by far the most durable and maintenance-free option for a wall-mounted bike rack. During the process, zinc and steel fuse together to form a protective layer that withstands the elements for decades, even in really harsh environments. The surface is also “self-healing,” which means small scratches don’t immediately open the door to rust.
For a hot-dip galvanized rack, simple cleaning with water and a soft brush once or twice a year is usually enough. This removes dirt and salts that could otherwise build up and accelerate deterioration.
If the project calls for a specific color, powder coating is an excellent complement. Powder coating over the hot-dip galvanized surface gives you double protection: first the unbeatable rust protection of the zinc, then the protective and aesthetic layer of the coating.
At Nordguard, we see ourselves as a long-term partner. We don’t just help you choose the right product – we can also advise you on maintenance plans to maximize the life of your investment. Do you have questions about maintenance or need help with an inspection? Contact us and our experts will help you.
Frequently asked questions about wall-mounted bike racks
Here we’ve gathered the most common questions we get from property owners, associations and contractors planning to install wall-mounted bike racks. The answers are meant to give you clarity and help you make a confident, well-informed decision.
How close together can the bike hooks be mounted?
One of the most important details in creating a bike room that actually works in practice is the spacing between the hooks. If they’re too close together, you’ll inevitably end up with a tangle of handlebars and pedals. It becomes hard to use, and the risk of damage to the bikes increases significantly.
For vertical bike racks, where the bike hangs by its front wheel, we recommend a center-to-center spacing (C/C) of 60–70 cm. This gives enough room between the bikes for easy handling. If you instead choose a smart high/low model, the spacing can be reduced to 35–40 cm, since the handlebars can then overlap without colliding.
Can a bike rack be mounted on a drywall wall?
The answer here is a short and clear no. We strongly advise against attaching a bike rack directly to drywall panels. A drywall wall simply doesn’t have the load-bearing capacity needed to handle the heavy and dynamic load from one or more bikes.
The anchoring must always be in a load-bearing material behind the drywall. Use a stud finder to locate wood studs, or mount directly into solid materials such as concrete or brick with the right type of anchor and screw. Safety depends entirely on this.
How many bike spaces does our association need?
Arriving at the right number of bike spaces is a classic challenge for housing associations. A good rule of thumb is to plan for 1.5 to 2 bike spaces per apartment, but needs can vary greatly depending on the property’s location and residents’ habits.
We always recommend carrying out a thorough needs assessment. Find out how many bikes there are today and try to estimate future needs. Finding it difficult? Contact us at Nordguard, and we’ll help you with a professional analysis and a concrete solution proposal.
What does a wall-mounted bike rack cost per space?
The price per bike space depends on several factors, mainly the model, the material and how many spaces you order. In general, the cost per space drops the larger the order, thanks to economies of scale in production and logistics. Our racks are built to last for many years, which means a low total cost of ownership over time. For an exact price, get in touch with us and we’ll prepare a quote tailored to your project.
Are you ready to optimize your bike room and increase security in your property? At Nordguard, you’ll find a complete range of robust, durable solutions. Explore our range or contact us directly for expert advice and a customized quote for your project.
Ready to take the next step?
We help you develop solutions tailored to your needs. At Nordguard, we strive to make the ordering process as smooth as possible. By offering support and guidance throughout the entire purchasing experience, we make sure you feel confident and satisfied with your choice of protection products.+46 10 153 90 50
[email protected]